I’ve promised my facebook fans that I would post pics of my interpretation of the Christmas ornament on the cover of Stampin’ Up!’s holiday catalog. So, without any further adieu, here we go!
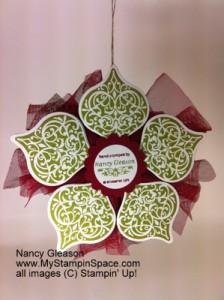
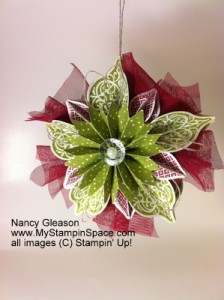
This is my first attempt. It was very easy, just time consuming! I did not have the exact paper that was used for the rosette so I just used what I had! I think it looks nice.
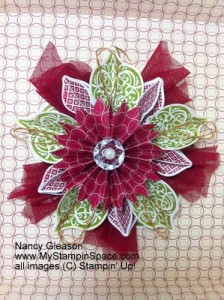
This is my 2nd creation. As you can tell right away, I used a totally different paper for the rosette. What you may not notice immediately is that I used a gold metallic cord rather than linen thread to dress it up a little. Then, I lined a shadowbox frame with more of my DSP and I framed the Ornament Medallion! What a great way to preserve this beautiful handmade creation!

I dressed up the back (of the ornament being hung, not framed!) You can use this space to sign your artwork or use to convey a message to the recipient of your gift!
If you want to recreate this on your own, a supply list is below.
Ornament Keepsakes stamp set (clear or wood mount) and coordinating Framelits Dies. Buy the bundle & save! Clear # 128051 or Wood # 128048 Scalloped Tulle Ribbon – Cherry Cobbler # 127841 Ink: Old Olive Ink Pad, Cherry Cobbler Ink. Paper: Whisper White or Very Vanilla Cardstock Candlelight Christmas Specialty DSP # 126901 (or substitute with a DSP that you have on hand) Embellishments: Vintage Faceted Designer Buttons, Large Pearl Basic Jewels, Linen Thread. Cool Tools: Big Shot machine & the Designer Rosette Bigz XL die # 125594, or a Simply Scored tool to score the DSP to make your own Rosette. Adhesives: I recommend using the Multipurpose Liquid Glue # 110755 and a hot melt glue gun. Thanks for stopping by My Stampin Space. I hope you like what I created and that you are inspired to create this for yourself! If you do, just click here or on any of the underlined products listed above to go right to my online secure ordering site. Happy Stampin! Nancy

