Winter Wonderland

One of the stamp sets that I am enjoying the most from the 2015 Holiday Catalog is Wonderland. (Stampin’ UP! posted a list of retiring items from the Holiday catalog and this will be retiring.  I strongly urge you to add this to your collection before it is gone.)   I guess the folks at Merry Monday Christmas Challenge knew that when they challenged us to use Blue, White & Texture to create a Christmas card.  winter wonderland
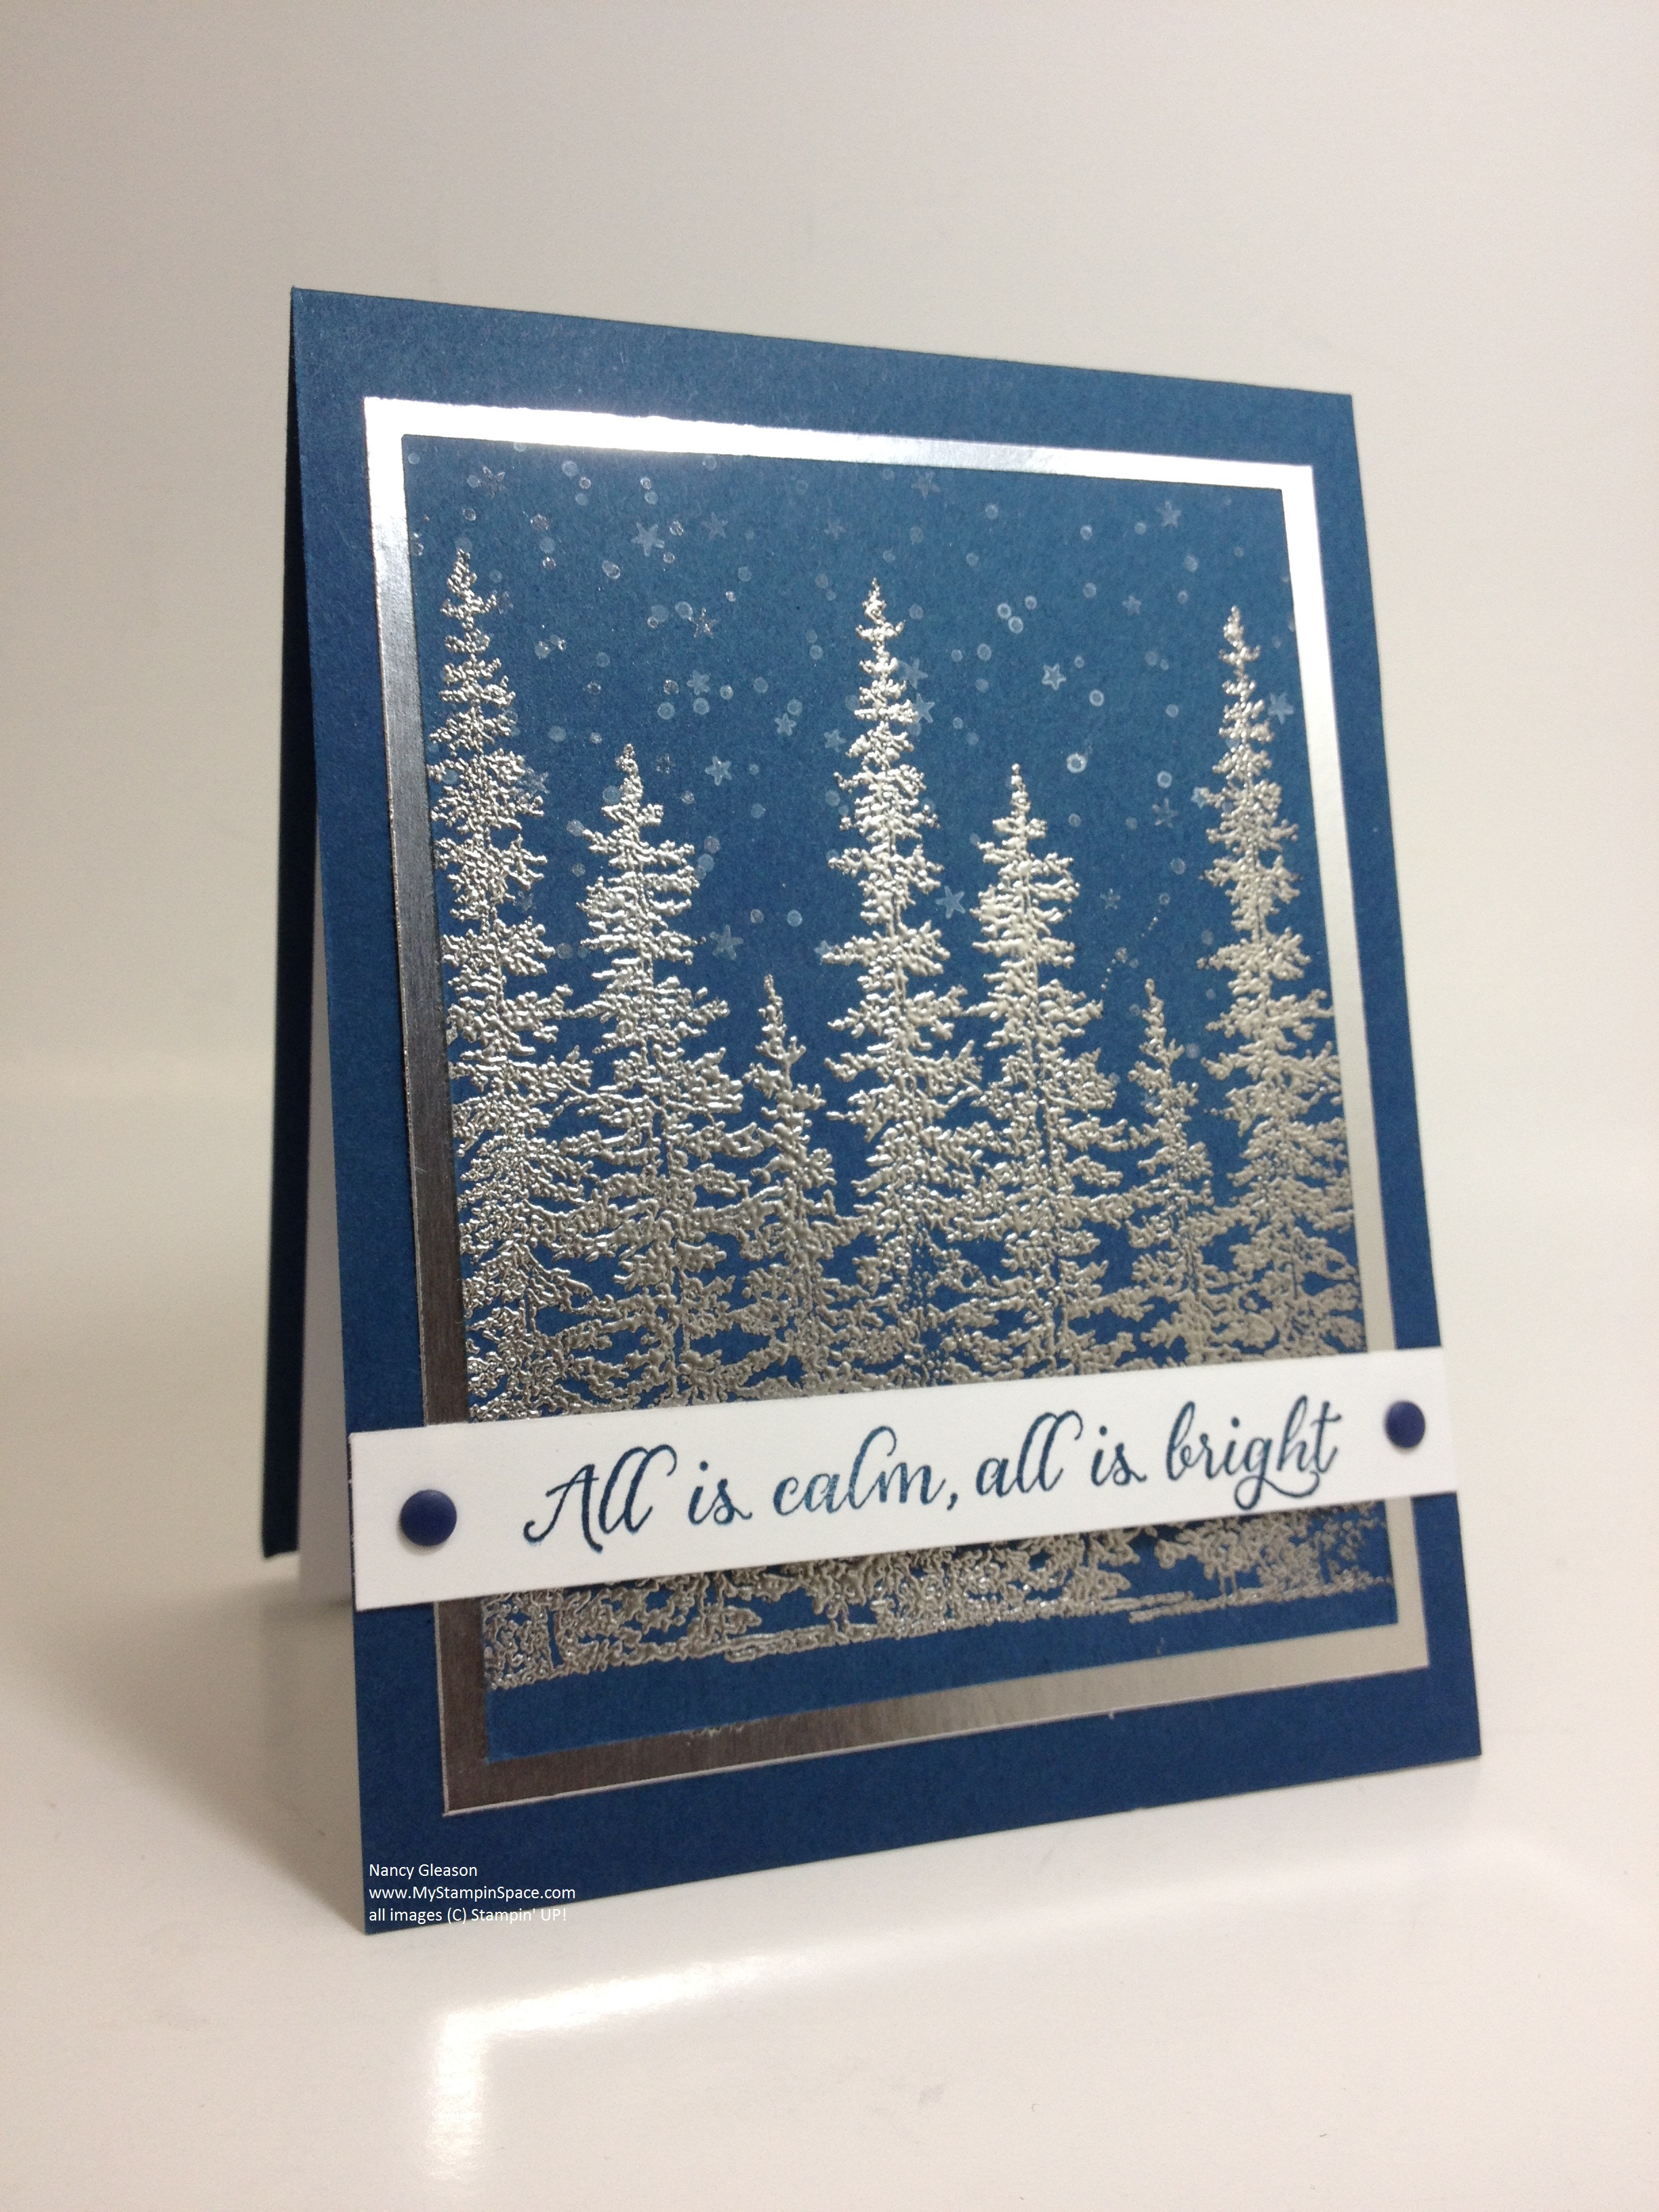
The beautiful tree image, heat embossed in Pewter Embossing Powder, shines against the dark blue background.  This made me pull out some Midnight Muse cardstock from my retired paper stash!  I’m so glad I stocked up on this color before it was retired 🙂  A few snowflakes stamped in White Craft Ink fill in the night sky behind the trees.

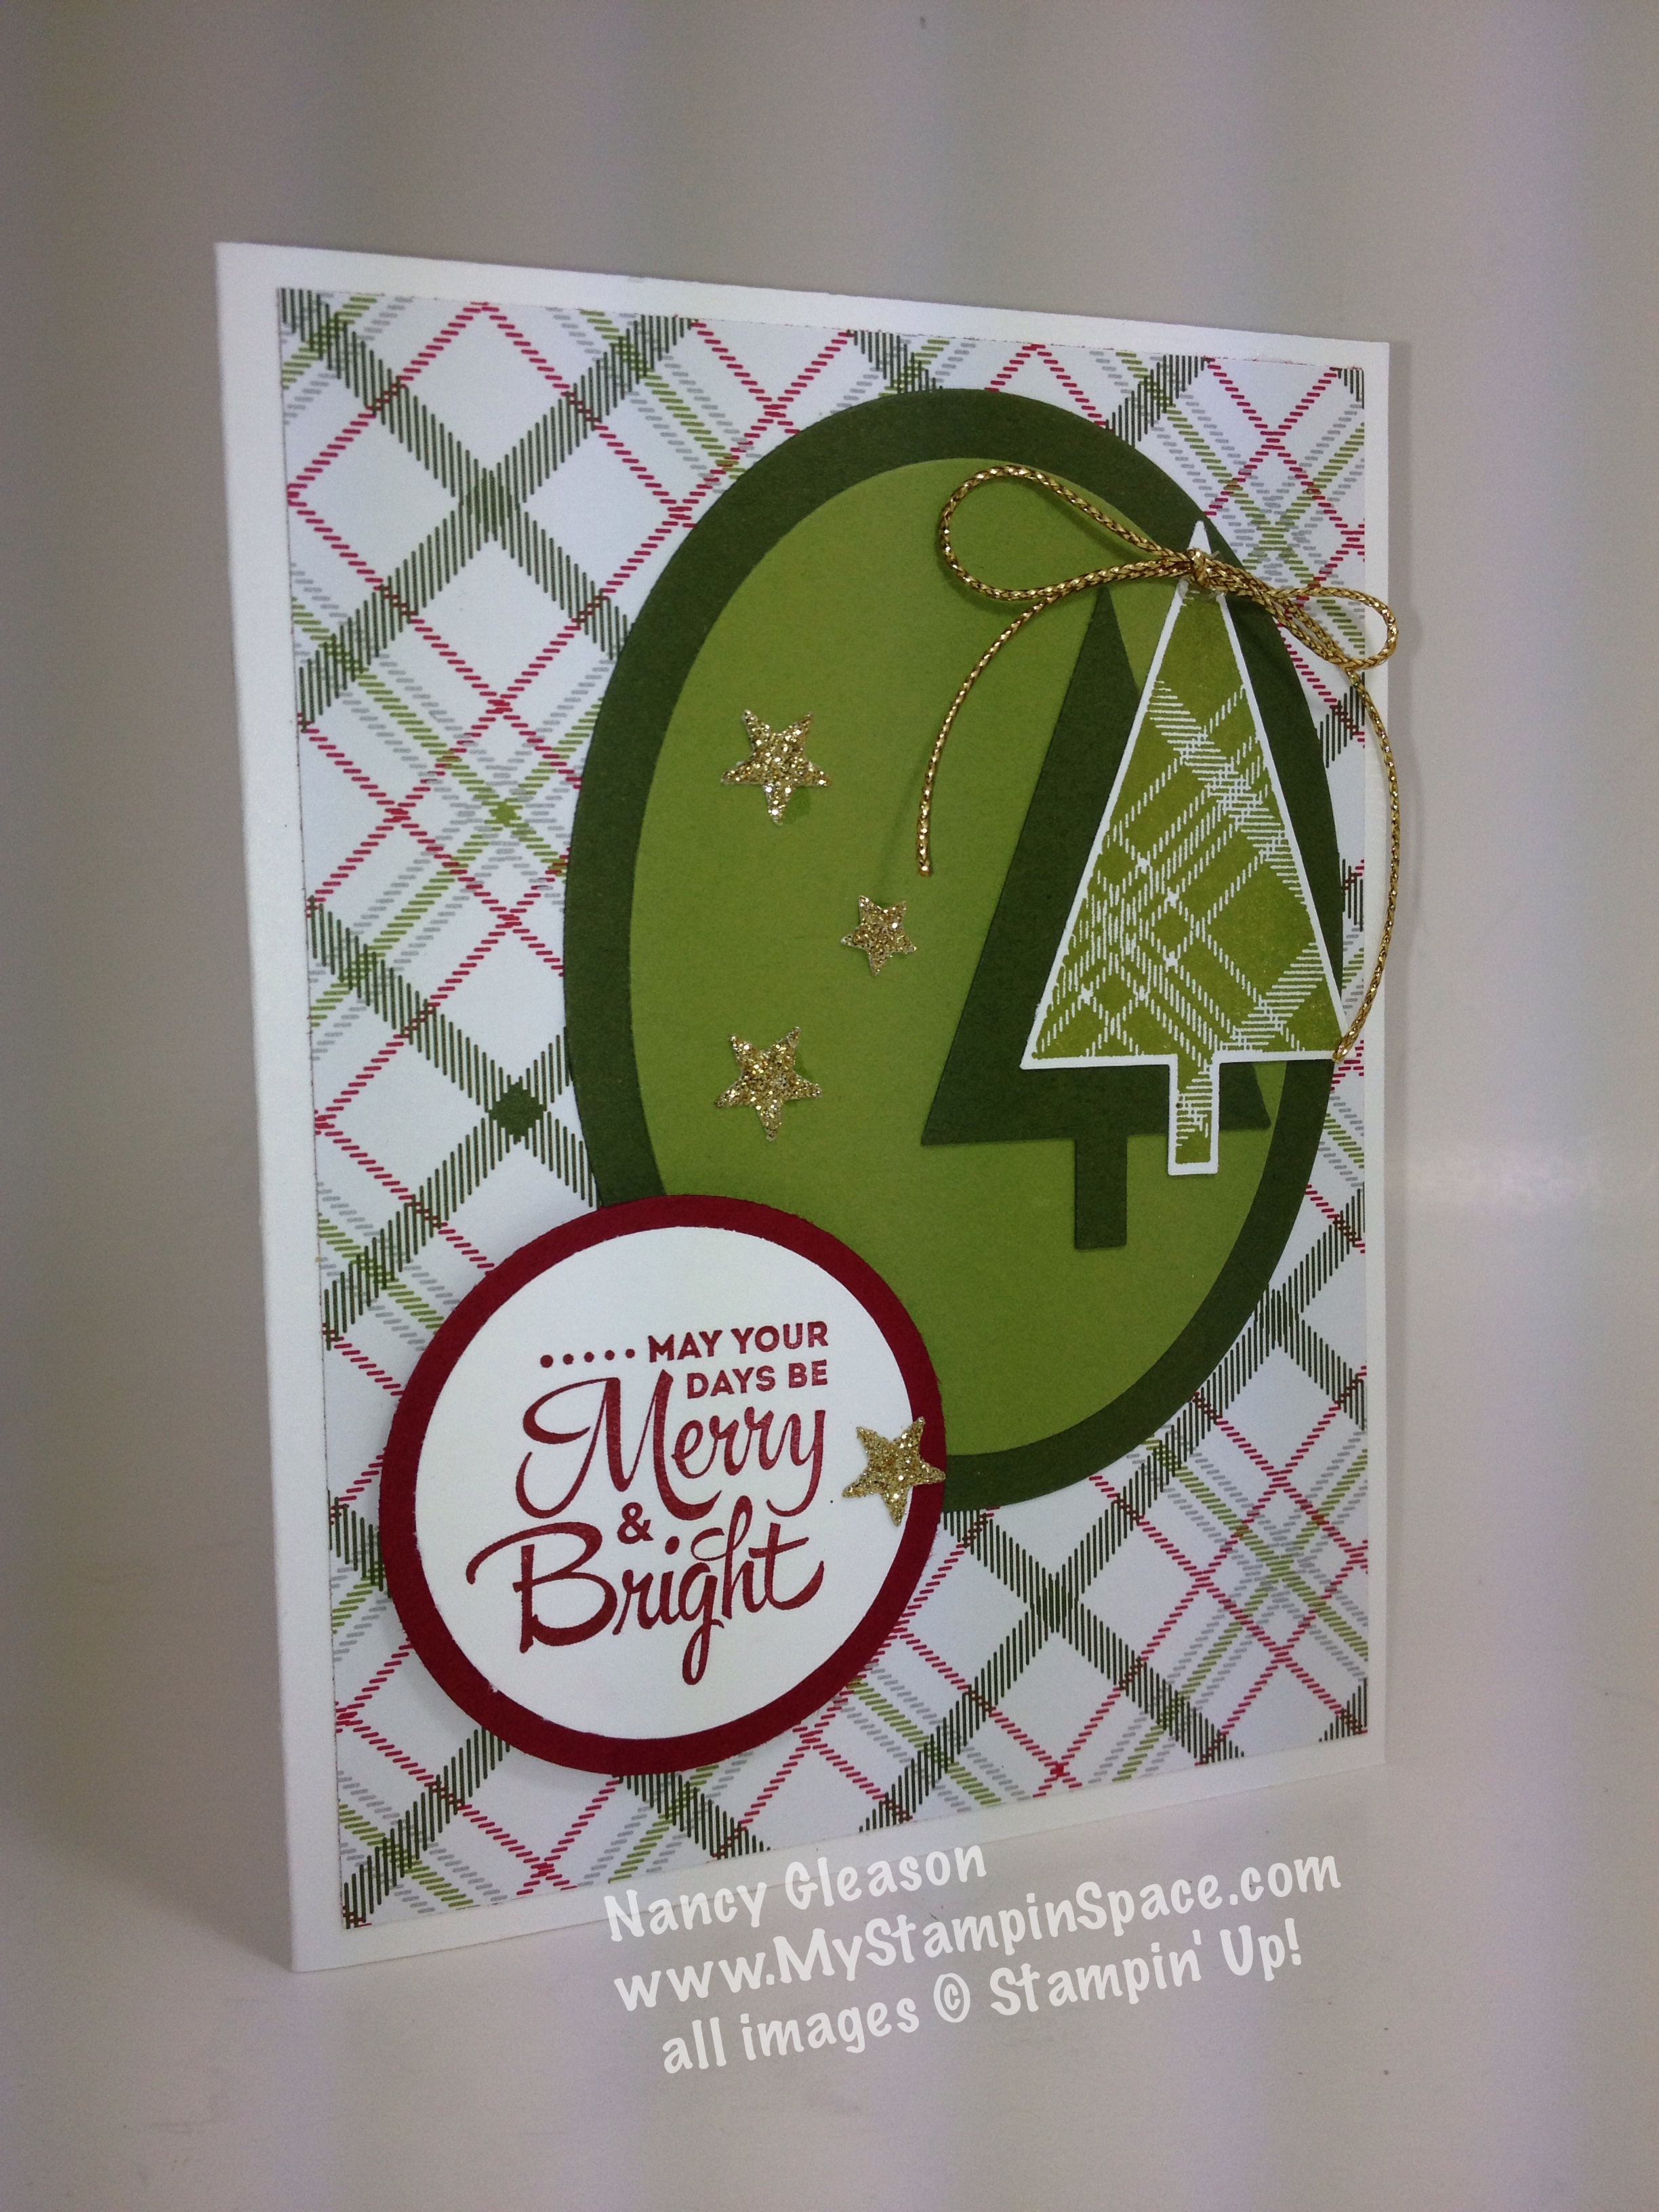
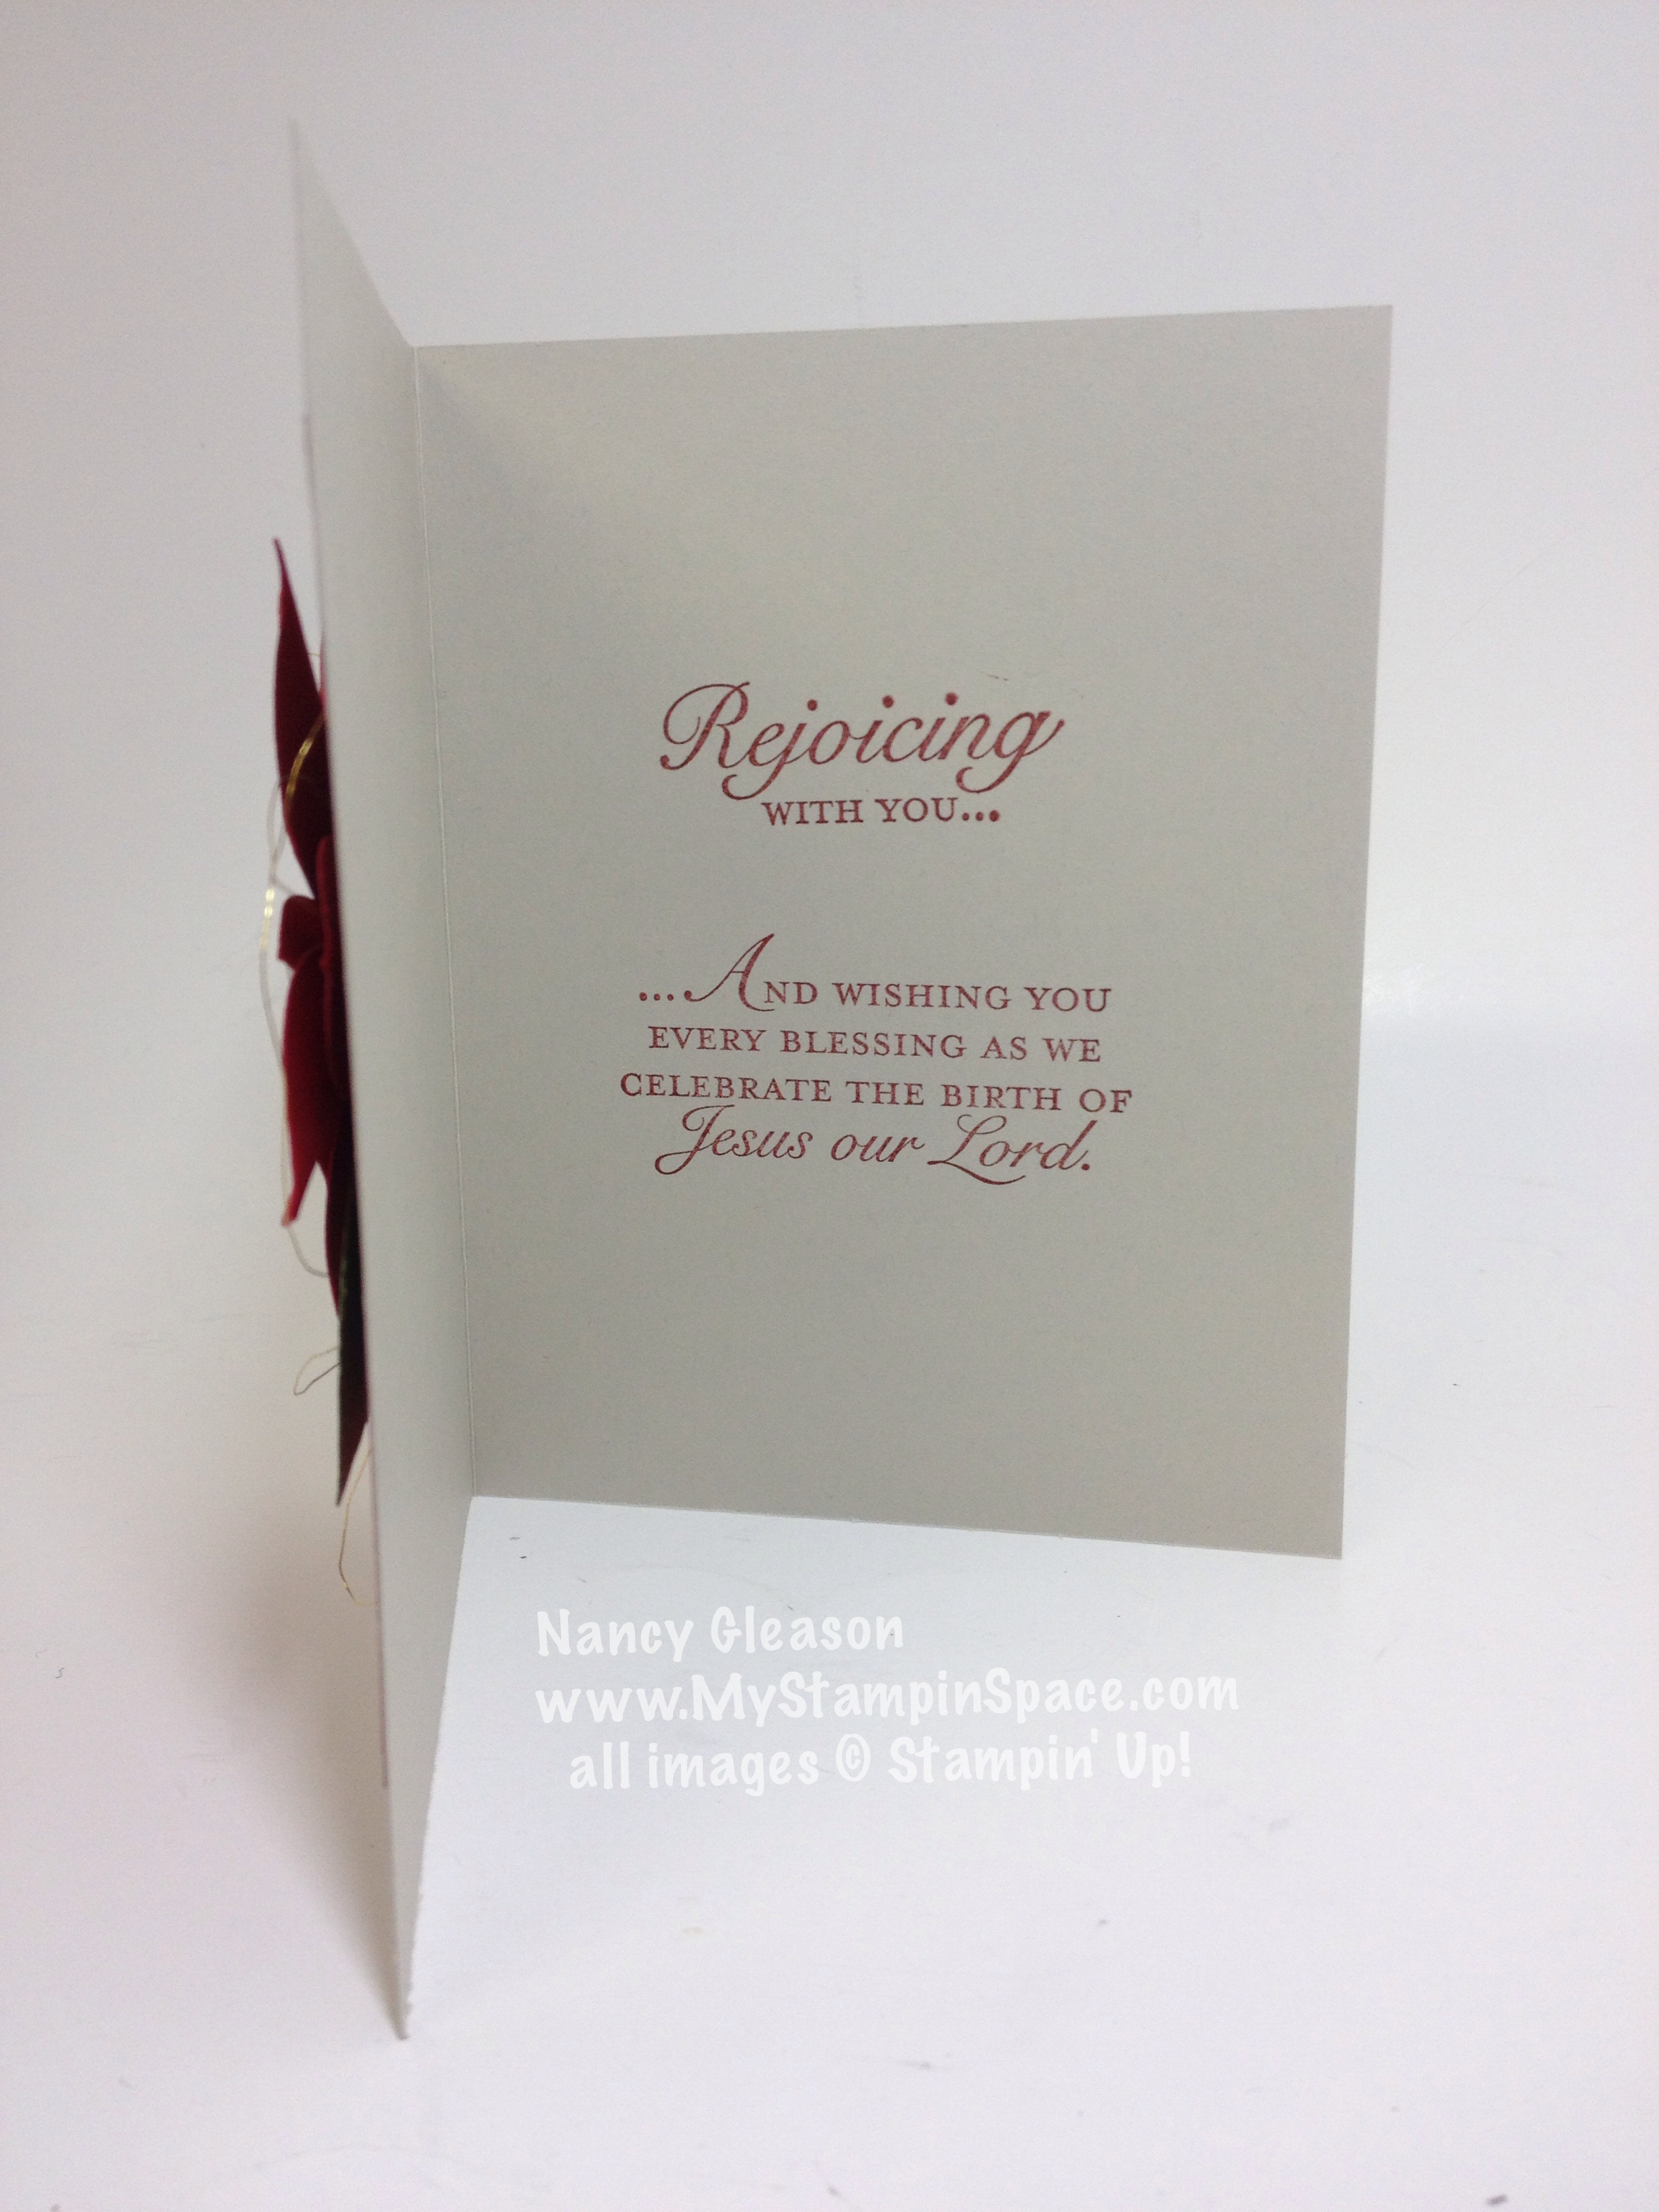
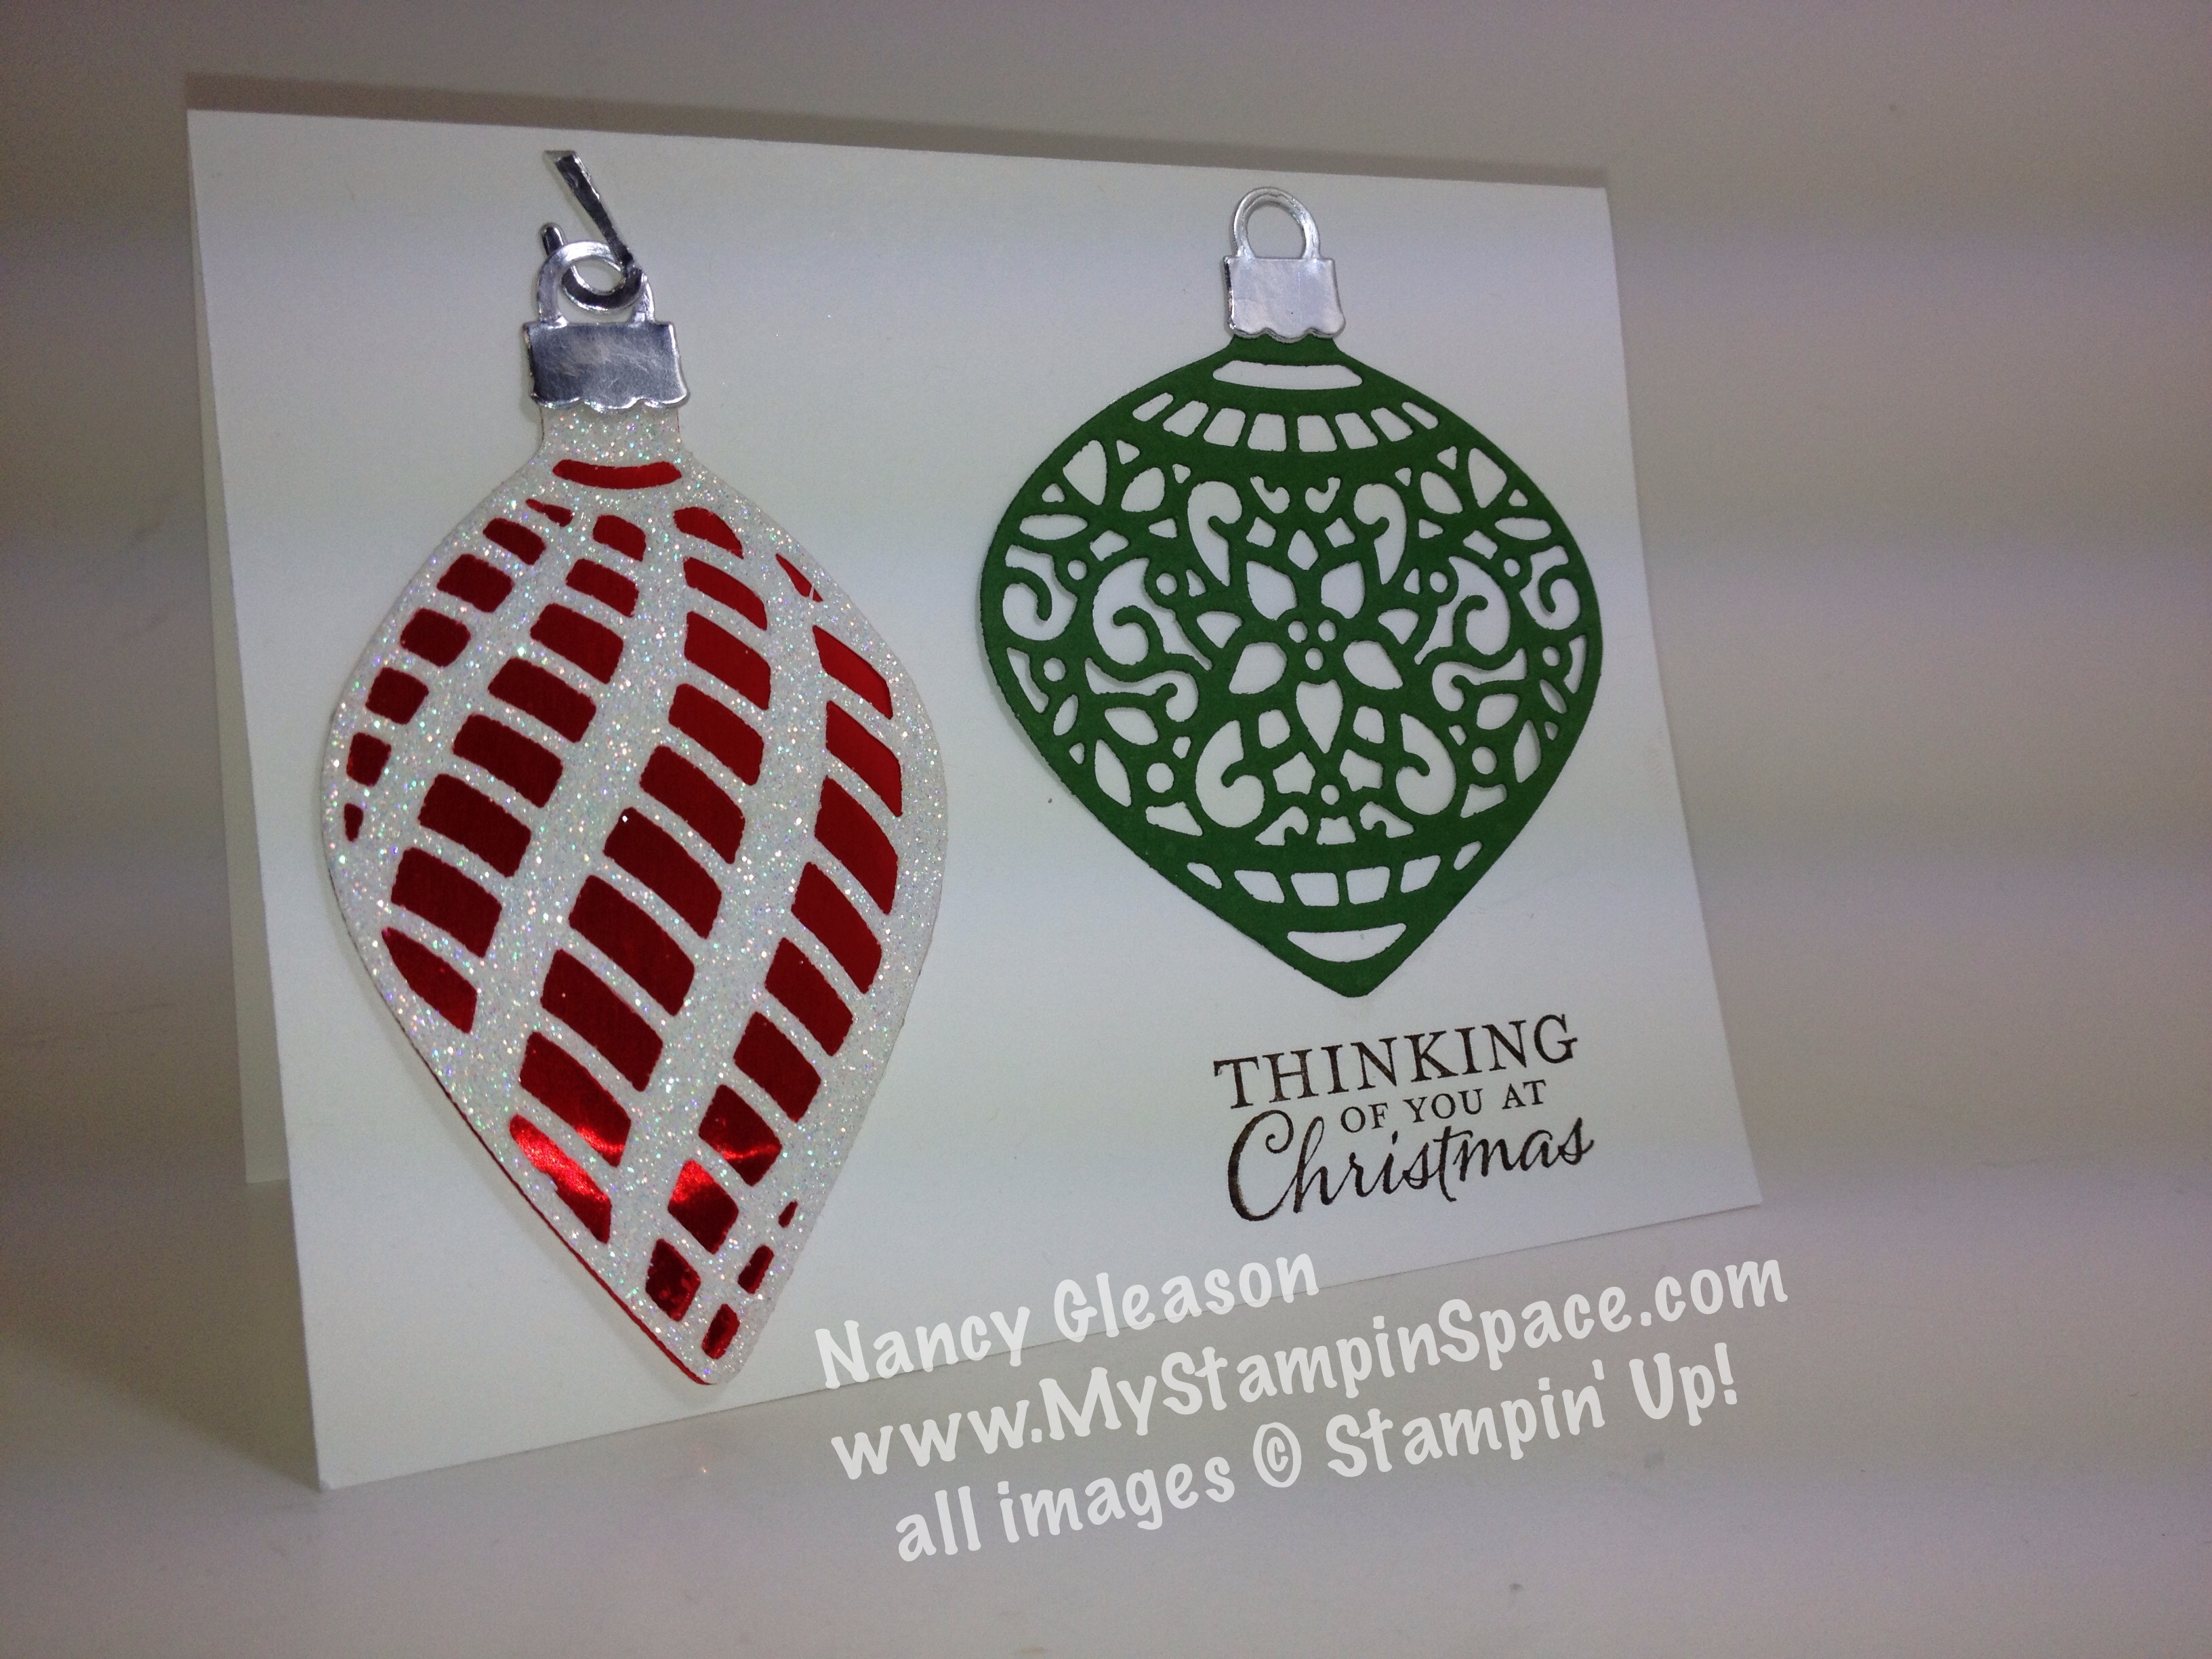
The inside was the perfect place to add another sentiment: winter wonderland insideThis sentiment is from the Versatile Christmas stamp set, which is also slated for Retirement.

A touch of shine from the Silver Foil sheets adds the perfect mat layer to showcase the beauty of this card.  TIP:  To save as much of the foil sheet as possible, I cut a piece to 5″ x 3-3/4″ for my mat layer.  Since much of this layer would be covered by the image panel, I cut out a hole 1/2″ in from each edge so I could use the foil sheet that wouldn’t be seen.  The Stampin’ Trimmer makes this so easy to do.   This is what is looks like from the back:winter wonderland tip

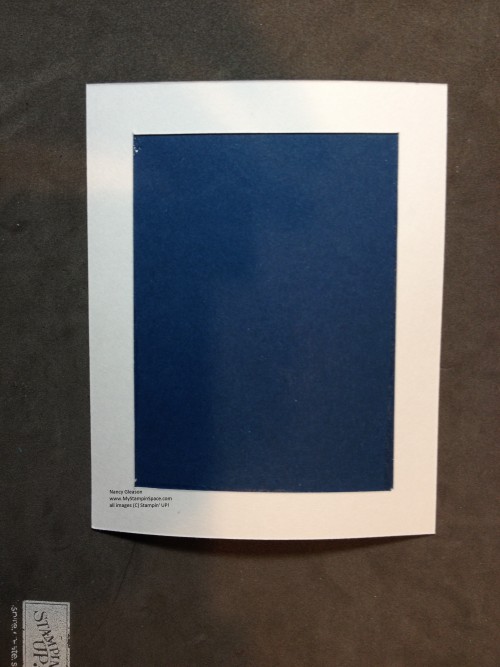
To see my project on the Merry Monday Christmas Challenge, and all the others, click here.

I hope you enjoy this project and will consider making it yourself.  Although I used retired colors from my stash, consider using Night of Navy Cardstock and Silver Embossing Powder to recreate this.

To see the list of RETIRING ITEMS – click here.

TH_Ecard_OnlineX_demo_11.23.15_ENGDon’t forget, the Online Extravaganza is still in full swing:  Click Here to shop the sale.

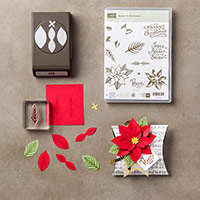
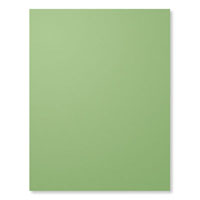
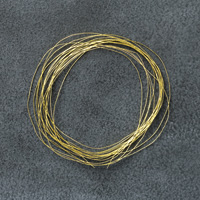
You can see the items needed to create this card below. Clicking on any of the images will take you right to the page where you can add the item to your shopping cart.   Thanks for shopping with me and don’t forget to shop the sale.

Happy Stampin,

Nancy


Ready, Set, SAVE!!!! 24 Hour FLASH SALE TODAY

TH_Ecard_OnlineX_demo_11.23.15_ENGToday is the day of the beginning of Stampin’ Up!s ONLINE EXTRAVAGANZA SALE!  Today, Nov. 23 thru Nov. 30th with extra 24- hour Flash Sales on the first day (today) and the last day (Nov. 30th).    SHOP NOW!

You can view the list here:

PDF file of Sale Items

Some hi-lights of the sale:  Buy 3 Get 1 Free of DSP Paper

Select past Paper Pumpkin Kits and Refills are on sale that anyone can purchase – you don’t have to be a Paper Pumpkin subscriber!   This means that you can try out one of these fantastic kits without being a member.

Both of these make GREAT GIFTS for the crafters in your life, or for yourself!

Check back tomorrow when we introduce new WEEKLY DEALS and again next Monday, Nov. 30th for another 24-hour FLASH SALE.

Happy Shopping!

Nancy


Not just for Rednecks!

I have to admit when I first saw the Wonderland stamp set in the 2015 Stampin’ Up! Holiday catalog, I did like the trees and especially the sentiments, but I wasn’t really digging the antlers.  Well, I finally caved, and ordered the set, because I thought that my son, who is a big Duck Dynasty fan, and self-proclaimed redneck, might like it.

Well, I found the cutest way to use the antlers!  I’m sure you’ll agree, these antlers are not for rednecks, but for Rudolph the Red-Nosed Reindeer!

IMG_5789Adorable, right?  I made this in my last class and the girls LOVED it!  It is so quick and simple to make too.  And the folks over at Merry Monday Christmas Challenge decided this week to include a deer in your card, so I’ll be submitting this to their challenge too.

Whisper White paper cut to 2″ wide and 4-1/4″ long was shaped in the Scallop Tag Topper Punch.  The Antlers from Wonderland are stamped with Soft Suede ink, as well as the To/From from Festival of Trees stamp set.  The eyes are punched from Early Espresso cardstock using the Owl Builder Punch.  The nose in this sample was punched with Real Red cardstock, but in my class, we used the larger dot from the Home For Christmas Enamel Dots.  A little white hi-light on the eyes using the Signo White marker and your done!  We added a 2-1/4″ x 4-1/4″ strip of Real Red cardstock and tied them together with the 1/8″ Real Red Ribbon.  Easy Peasy!

I know you are going to want to make this yourself, but you’ll have to hurry.  Stampin’ Up! just released a Retiring Products List from the Holiday catalog and this stamp will be retiring 🙁

No worries, you can still get it now, but pretty soon it will be too late, and then you’ll just be sad that you missed out.  Now would be the time to snag this stamp set and stock up on the Enamel Dots and ribbon too!

So, shop the RETIRING PRODUCTS LIST, while you’re there, check out the WEEKLY DEALS and the CLEARANCE RACK for some great deals, too!

Check out my facebook page;  I’ve created a photo album of projects using the Wonderland Stamp set.  This set is so versatile and so much fun, that I’m having a hard time putting it down!  You’ll be inspired by the many projects you can make with this set.

Thanks for stopping by My Stampin Space!

Stamp On,
Nancy

Built for Free Using: My Stampin Blog

Festive Flower Gift Set

I wanted to make a special little gift for a friend to whom I owe alot; she is the person who introduced me to Stampin’ Up!  Honestly, when I got invited to a ‘rubber stamping class’ I thought “Ink, Stamp, Boring!”.  I mean what could you do with a rubber stamp to make something decorative?  (My exposure to ‘stamps’ was basically a black ink pad and a date stamp, a paid stamp, and a copy stamp so I didn’t really have high hopes!)  But when I put a decorative stamp to a colored ink pad, and used markers to add various colors to one stamp, added ribbon and some decorative paper, I WAS HOOKED!   All I wanted to do from that night on was stamp!

Well, I’ll be going to Baltimore later today for the Stampin’ Up! OnStage event and I’ll be traveling and rooming with Sue.  So I decorated this plain old notebook, added a coordinating pen, and decorated a coordinating gift bag.  (Of course, they’ll also be chocolate in the gift bag too, along with some other essentials for a road trip!)

WARNING:   A few retired items were pulled from the archives in the making of this coordinating gift set. 

Decorative NotebookI used Early Espresso cardstock cut out with a (retired) framelit dies. A piece of Early Espresso DSP from the Neutrals Paper Stack was cropped with the triple banner punch to create the flagged end.  But the really star of the show is the Sunflower created from the Festive Flower Builder Punch (on sale this week!).  I punched 12 large leaves in Hello, Honey cardstock, and 6 small leaves (and one circle from the 1-1/4″punch).  I used the circle to form a base, covered it with glue and started arranging 6 petals in a circle.  I added another layer of glue and another layer of 6 petals, overlapping the first circle.  Lastly, I added the 6 smaller petals, again staggering them.  From my stash of really old, I mean vintage, Stampin’ Up! supplies, I pulled out this Chocolate Chip Corduroy brad.

I stamped a few leaves in Mossy Meadow ink on Mossy Meadow cardstock and fussy cut these using my trusty paper snips.  A little bit of gold metallic cording adds some bling behind the flower when it was assembled.

sunflower close up

Now for the bag!  decorated gift bagI used Mossy Meadow cardstock, Hello Honey DSP cut to the width of the kraft gift bag.  I used Early Espresso cardstock to cut out the decorative shape with the same retired framelit die used on the notebook.  A gold metallic doily added a little accent behind the banner flag.  A little button adds a decorative touch.

decorative medallion close upYou can see both items together here.  I think that they coordinate well together, don’t you?  bag and bookWell, I hope that you enjoy this project.  It was really fun to put together and I would encourage you to find a plain boring notebook (think Dollar Tree!) and dress it up!  A Pentel RSVP pen, a strip of 1″ x 3-1/4″ DSP is all you need to add a coordinating pen to your notebook.  When you put that in a matching gift bag, your recipient will be sure to know how much you care.

If you would like to make this and need any supplies, click on the supply list below to go straight to my online store.  Bonus:  the Festive Flower Builder Punch and the Metallic Foil Doilies are on sale in the WEEKLY DEALS this week!

Built for Free Using: My Stampin Blog

You can see the Weekly Deals here:

Built for Free Using: My Stampin Blog

 Make sure to Follow me on Facebook, I’ll be sharing pics of my at the OnStage Event in Baltimore this weekend.  Hard to believe but I’ll actually be getting a sneak peek of the 2016 Occasions Catalog and 2016 Sale-A-Bration catalogs!!!  We are prohibited from posting the catalogs or pics of new products but I’ll be sharing some of the excitement!

Happy Stampin’,
Nancy

“So Thankful” for the Pals Blog Hop

Pals November Blog Hop BadgeWelcome to the Pals November Blog Hop, we’re so thankful you stopped by!  This month we’re showcasing projects that feature Stampin’ Up! Thanksgiving and “Thank You” products.  We hope you enjoy our creations.

You may just be starting the Blog Hop or you may have come from the previous blog on the Pals Blog Hop listing shown below.  The full lineup will help you move along from blog to blog so you can enjoy each and every beautiful project.

I have SO MANY things to be thankful for: a wonderful husband (we just celebrated 27 years of marriage!), our son, our home, good health and jobs, etc.  I am also thankful to be involved with Stampin’ UP!  I have met so many wonderful people and the friendships I have because of Stampin’ Up!  I am so thankful to be part of the Stampin’ Pretty Pals and to be part of their monthly Blog Hop.   ‘Nuf said, let’s get on to the stampin’:

Acorny Pillow BoxI’ve been hosting Thanksgiving Dinner for several years now, and I love having my family over!  Each year I make a special party-favor item (usually filled with chocolate!) for each of my guests.  This year, I plan on using the popular Square Pillow Box for my treats.   Can you tell that I also embossed the Soft Suede cardstock with the fabulous Woodland Textured Impressions Embossing Folder?

Acorny Thank YouI kept the decorations simple and to the point.  A circle punched from the 2″ circle punch serves as the backdrop for the awesome acorn.  The acorn is stamped and punched using the Acorny Thank You stamp set and coordinating Acorn Builder Punch (Bundle & Save 15%).  Soft Suede and Cajun Craze inks were used for the acorn image while Hello Honey ink was used to stamp the banner.  Bitty Banner Framelits  made easy work of cropping out the sentiment banner.

Thanks for visiting.  To continue with the hop, please refer to the Blog Hop Line-up below. We hope to see you on next month’s Pals Blog Hop!

  1. Jennifer Michalski at Stampin’ Serenity
  2. Shawn de Oliveira at Shawn Stamps
  3. Katy McGloin at Just Fun Stamping
  4. Kim Jolley at Stampin’ Artfully
  5. Becky Volpp at InkBlossomwithBecky
  6. Peggy Noe at Prettypapercards
  7. Rae Harper at Wild West Paper Arts
  8. Kelly DeTommaso at Kelly’s Creative Corner
  9. Beth McCullough at Stamping Mom
  10. Wendy Klein at Doggone Delightful Stampin’
  11. Kalyn Shubnell at The Stamping Chronicles
  12. Jackie Diediker at Stampin’ Jackie
  13. Susan Itell at Simple Stampin
  14. Lisa Ann Bernard at Queen B Creations
  15. Pamela Sadler at Stampin Pink Rose
  16. Karen Hallam at Karen’s Stampin’ Habit!
  17. Mary Fish at Stampin’ Pretty
  18. Debra Simonis at Deb’s Stampin’ Grounds
  19. Nancy Gleason at My Stampin Space —YOU ARE HERE—
  20. Brian King at Stamp with Brian
  21. Dawn Tidd at Tiddbits from Dawn
  22. Jane Knudsen at see jane stamp
  23. Sherrie Gross at Stampin’ Sunshine
  24. Tricia Chuba at ButterDish Designs

Don’t forget to come back again in the next few days.  I’ll be traveling to  Baltimore, MD to attend the Stampin’ Up! OnStage event.  I’ll be getting a sneak peek at the 2016 Sale-A-Bration catalog!  Like me on Facebook and sign up for my mailing list so you won’t miss a thing!

Thanks for stopping by My Stampin Space.  If you’d order any of the products I’ve used here, please feel free to shop my safe & secure online store.  Thanks!

Nancy

Come Stamp With Me

Two Classes have been scheduled for you to join me and make Christmas Cards.    Nothing says ‘love’ like a handmade card, and let’s be honest, we all love handmade holidays.  When you combine the two, handmade Christmas cards combine the best of both worlds.

Join me, for both classes if you can:

• Monday, Nov. 16th

• Thursday, Dec. 3rd *

*This class is a “SIP & STAMP”
– bring your favorite bottle of wine to sip while we stamp!

Both classes will be held from 6:30-8:45 PM at Walden Pond Wellness Center at 540 Gleason Drive, Moosic.  Conveniently located off I-81 between Exits 180 (Moosic) and 182 (Davis St./Montage Mtn.)  Cost is $12 per person and it includes all supplies for students to take home finished projects.  You’ll learn a new technique, or tool, at each class to improve your paper crafting skills as you   have fun and make new friends.

Email me to RSVP.  Space is limited and are available first come, first serve basis.

Curious?  Shown below are two cards that we made at the last Stamp Club;  the first one features a resist embossing technique using the Holly Jolly Greetings stamp set and Christmas Greeting Thinlits dies (Bundle and save 15% when you purchase these two items together!)

Peace The next card features textured embossing and ‘stamp on, stamp off’ technique using the ever versatile Wonderland stamp set.

Wonderland Peace & LoveFor more ideas using this gorgeous stamp, check out my Facebook page, and check back here often.  I’ll be sharing several project that I’ve made with this stamp set over the next few days and weeks.

Check out the latest Stampin’ Up! catalogs for lots of ideas and inspiration for your own holiday projects.

I hope you’ll join me in a class, but if you can’t make it in person,  schedule your own in-home workshop and I’ll bring the class to you!  Or ask me about a class in the mail option.  Either way, I hope that we’ll be stamping together soon.

Keep your ink on the paper,

Nancy

This is What Inspired Me

Yesterday I shared a photo of something that inspired me to make a cute little Frankenstein-styled card.  Today, I want to share another project with you.  This was made by one of Stampin’ UP!’s Artisan Design Team.  (You can see the original blog post here).WickedI just absolutely LOVE the color combination!  Tradition says we should pair Orange & Black for Halloween.  Maybe throwing in a splash of green or purple is in order, but no orange?  Just black & green?  YES, it works!  And works wonderfully.  Yes, I loved this so much I wanted to copy it for myself!  But I didn’t have the WICKED sentiment, or the Owl from the Howl-o-ween Treat stamp set but that wasn’t going to stop me!  I did have the Spider Web Doilies and my trusty Owl Builder Punch, Basic Black & Cucumber Crush card stock and Cucumber Crush Dotted Lace Trim Ribbon.  Here’s what I came up with:

hershey bar holder

I wanted to make something to hold a full size Hershey Bar.  So my Pillow Box Thinlits die would come to the rescue.  To make it work, I had to do some finagling.  (That’s a very technical term which means I alter it to fit what I needed!)  I actually cut a black pillow box part in half, spread the two pieces apart, and use the green piece to  ‘bridge the gap’ to create the length I needed.

My sister is just going to LOVE this when it arrives in her mailbox.  She loves Hershey bars and she enjoys getting little treats in the mail from me too.  But, shhh, don’t tell her it’s for her.  I want it to be a surprise!

Look for opportunities all around you to inspire you in your paper crafting projects.  Look for color combinations in clothing, patterns in home decor.  You’ll be surprised at what you’ll see when you look at things with a discerning eye.

Just look outside, all the beautiful fall colors are inspiring too.  What will you make?  I hope you make something absolutely inspiring!

Nancy

Don’t forget to shop our Weekly Deals, they update every Tuesday.  And our Holiday Catalog is filled with Bundles to help save you money.  And beginning today until Nov. 9th, earn extra Stampin’ Rewards when you place a qualifying order of $300 or more.


Built for Free Using: My Stampin Blog


What Inspires You?

Sometimes inspiration comes from the most unexpected places.  I often find things in daily life that remind me of a Stampin’ UP! color, or stamp set, or DSP pattern.  Sometimes it’s a project that just begs for you to recreate it, giving it your own touch, or tweeking it to use whatever stamps, papers, ribbons you have on hand.  This picture came to me in an email from Michaels, the craft store.  Frankie Door Wrap

When I saw this, my first thought was “I can make this into a card!”.  And I did.  Here’s my card version:

Frankie Card What do you think?  Can you guess how I made this?  It is so simple; I started with a Cucumber Crisp 4″ x 4″ card base.  I used scraps of black cardstock to cut strips for the eyebrows and scar.  I used the Owl Builder Punch to create the eyes.  And for the smile?  I used the Balloon Framelits!  It was the first ‘thing’ I saw when I looked at the door wrap in the advertisement above.

I made this with the ladies in my stamp club a few days ago and they loved it.  Quick, easy and super cute.  Who wouldn’t love to receive this card?   My mind is now thinking;  what if I made a Mini Treat Bag from our thinlits, or a baker’s box, or gift bag from Cucumber Crisp cardstock and decorated that?  So many possibilities.

I hope you go into your craft room right now and make YOUR version of  Frankie; whether on a card or a gift package.   Then leave me a comment and tell me what you made.

Stop back to see how I adapted a project that inspired me.

In the meantime, remember Saturday, Oct. 10th is the last day to order your Paper Pumpkin for October.  For every box ordered in October, Stampin’ Up! will donate $1 to BCRF and $2 for every NEW SUBSCRIBER!.  Click here to order yours today.

Remember, you can shop my store securely 24/7 by clicking here, or just click on any of the items below to add that item to your shopping cart.

I hope you found inspiration for your projects here today.

Happy Stampin’

Nancy

Built for Free Using: My Stampin Blog

How Can YOU Stamp Out Breast Cancer?

BCRF_Demo_Header_0915October is Breast Cancer Awareness Month and in honor of that, Stampin’ Up! has planned a Special Paper Pumpkin box AND Stampin’ Up! will donate to the Breast Cancer Research Foundation:

  • $1 for every active Paper Pumpkin subscriber.
  • Plus, an additional $1 for every new subscriber who signs up by October 10.

Go to PaperPumpkin.com to sign up before October 10. And, your October kit will arrive in a limited-edition pink box—a reminder that you made a difference!

More About BCRF

BCRF is a world-class organization dedicated to ending breast cancer, and we are excited to be teaming up with them to make this happen. Their mission is to advance the world’s most promising research to eradicate breast cancer. To learn about more ways to help, please visit www.bcrfcure.org.

So if you subscribe to Paper Pumpkin, know that you are making a difference!  And if you don’t, don’t wait any longer!  Subscribe now and you’ll receive an awesome Craft Kit in a pink box, AND Stampin’ UP! will donate $2 to the BCRF on your behalf.  It’s a win-win! 

Don’t forget the Weekly Deals either:  Click here to access this week’s WEEKLY DEALS.

Happy Stampin’

Nancy


Will You Be Getting My Free Gift?

Hey Stampers,
Great News!   I am going to be giving a special gift to my Mailing List Subscribers!  If you have signed up to receive my newsletter, then you will be getting a special “12 Weeks of Christmas” newsletter designed to inspire you with projects to make your holidays special.

Each week beginning Wed., Sept. 30th, you will receive an email containing a project idea for cards, gifts, tags & gift wrapping, along with step by step directions.  Projects will feature products from the 2015 Stampin’ UP! Holiday Catalog and/or holiday items from the Annual Catalog.

arrow-clip-art-Arrow-clip-art-16This is EXCLUSIVELY for my mailing list subscribers!  If you aren’t already signed up, join now before its’ too late!  Click the sign-up box to your right.

If you are not on my mailing list by Wednesday,you won’t receive these exclusive project tutorials designed to inspire you!

Sign up now!  I promise you won’t want to miss the projects that I’ll be sharing!

Nancy


Did This Make Your List?

When the new Stampin’ Up! Holiday catalog made its’ debut, I ooh-ed & ahh-ed at almost every thing in it!  But only a few items made it to the top of my “Must. Have. NOW!” list.   The Festive Flower Builder Punch and Coordinating Reason for the Season stamp bundle were at the top of this list.

The flower punch makes this incredible 3-D flower, and the stamp set puts just the right accent onto each petal.

Tonight I brought my computer into My Stampin’ Space and was creating and surfing; when I saw the Pals Paper Arts sketch challenge #268, and I had this flower already assembled just waiting to be turned into something awesome.  It was a match made in heaven!  Add the Merry Moments DSP that was practically sitting in my lap and a star was born!

IMG_5584This beautiful patterned paper was just right to show off the 3-D flower, and since I didn’t want anything to take away from anything, I chose a soft neutral, Sahara Sand, for the card base.  I didn’t even put a sentiment on the front, I want the flower to be the star of the show!  I did use a little bit of the Gold Metallic thread which helps the flower pop out without taking your eye away.

I used the sentiments from Versatile Christmas on the inside.  While these sentiments are great ‘inside, outside’ stamps, I used both parts on the inside:

IMG_5585I love that you can see how full the flower is from this angle.

Here’s another angle that shows the flower,

IMG_5586

So, now that you’ve seen this, is the Reason for the Season Stamp set and Festive Flower Builder Punch on your list too? Remember, you can Bundle & Save 15%!   If it is, you can order it here.  If you do, please use host code ZA4DG2A9 when you place your order.  (If your order is $150 or more, please do not use the host code).  You can also click on any item in my supply list below to order that item.

If you want it all, but your wallet says, “HELP!”, you might want to consider joining Stampin’ Up! as a wholesale customer.  You’ll get a discount on every order.  You can join here; select $125 worth of products for only $99 plus tax.  I’d be happy to answer any questions you have about becoming a wholesale customer.  Email me and we can set up a time to talk!   Joining Stampin’ UP! was one of the best things I’ve ever done!

Nancy

The Holiday Catalog is Here!

It’s finally here; the 2015 Stampin’ Up! Holiday catalog  is here!  Click on the catalog cover below to view the catalog.

20150901TH_HolidayMini_en-USStamp sets, papers, & framelits, oh my!   Where to start?

My advice:  bundles are always a great place to start, and to save.  Make a wish list, go thru the catalog again, add to wish list.  Go thru catalog a third time, prioritize wish list (I make an A, B, C wish list).

One of my favorite bundles is the Embellished Ornaments Stamp Set and Delicate Ornaments Framelits die Bundle – Wood Mount # 140856 $48.25, or Clear Mount # 140857 $ 41.50 which I used to make this card:

IMG_5439

You can begin ordering today right here.   You can view the catalog here, or on the sidebar.  Do you want a paper catalog to have in your hands?  If you are my customer, or would like to be, I’ll be happy to send you a catalog.  If you already have a relationship with a demonstrator, I respectfully ask that you request a catalog from him/her.

Is you wish list now bigger than your budget?  Do you want it all?  Consider using the starter kit to fill your wish list.  Choose $125 worth of merchandise for only $99 (and it ships free!) which is like a 30% discount.  And that’s just to start!  You’ll receive a 30% discount off your first order (within 45 days) and 20% off all products after that from now until Dec. 31st with no obligation to sell anything, host a party or anything else.  Just fill your personal wish list at a discount, get all the perks (like attending OnStage Live in November, a bi-monthly magazine filled with ideas & tips, our private Facebook chat groups, and more!)  Click here to get started.

Enjoy the new catalog!

Nancy


Christmas, Here I come!

Christmas is just a few short months away, so now is the best time to start getting ready.   I did just that.  The new Stampin’ Up! 2015 Holiday catalog is here (sales period begins Sept. 1st) but as a demo, I have been able to order from that catalog already.   This catalog is filled with so many new and exciting things that will make a stamper’s heart go pitter-patter!   And, yes, I do offer Gift Certificates 🙂   SPOILER ALERT:  The catalog is also filled with some pretty nostalgic items too that will take you back to Christmases of long ago.
Our Annual Catalog has some pretty nice Christmas stamps & papers too.  Today’s project features the “Lots of Joy” stamp set, “Merry Moments DSP” from the annual catalog and the coordinating Tree Punch.

Lots of JoyWhisper White card stock formed the foundation for my card.  A piece of plaid DSP cut 1/4″ smaller created the background.   I used my Oval framelits and cut 2 ovals; the larger from Mossy Meadow card stock, the smaller in Old Olive  card stock.    I punch a Mossy Meadow tree (TIP:  To save paper, I punched this out of the center of the oval I just  made – the lighter oval will cover it and no one will know!)

Then I stamped the plaid tree in Old Olive ink on Whisper White and punched that out and adhered on top of, but offset from the solid tree.

Cherry Cobbler ink was used for the sentiment and the 1-3/4″ and 2″ circle punches cropped the circles which I layered together and offset at the bottom of the oval.  A few stars in Gold Glimmer Paper were cropped using the star die from the Mini Treat Bag Thinlits set added some sparkle.  The plaid tree was finished off with a bow tied from the new Gold Cording Trim which will be available Sept. 1st.

Don’t you just love the plaid tree in this stamp set?  I do.   It reminds me of a Charlie Brown Christmas and I am looking forward to stamping this tree in some funky colors like Bermuda Bay, Melon Mambo and the like!

I took my color palette from the colors in the Merry Moments DSP.  Here is another card I made using the same layout but I switched out the DSP in the background.  IMG_5467 A whole different feel just by changing the paper.

And the best part of this card;  after I made it I realized it fit the requirements for the Merry Monday Christmas card challenge:Merry Monday Christmas 169It’s been a while since I played along and I’m really glad to take part this week.  Hop over to the challenge to find inspiration from other crafters as you look forward to getting started with your own Christmas cards.

Listed below are the supplies I used for my card.  You can order any of these items by shopping my online store, or by clicking the item below.

If you need a 2015 Holiday Catalog, and you are my customer, or don’t currently have a demo and wish to choose me as your demonstrator, request your Holiday catalog here.  If you already have a relationship with another demonstrator, please be respectful and contact him or her for a catalog.


Thanks for stopping by My Stampin’ Space.  Please know that I love when you stop by and leave me a comment.  I also appreciate when you order from me very much!  I have set some sales goals for myself and and just a few dollars away from my goal for the month.  I would certainly appreciate if you could help me reach that goal by shopping with me today.  (You know you want more stamps anyway!)  And you’ll be helping me in the process!  Thanks!
Don’t forget our Weekly Deals and Clearance Rack items either.  Or start your gift giving and order a few Paper Pumpkin Subscriptions.
Have a good day and have fun shopping!
Nancy

So Who is This Amazing Woman?

When I saw the sketch for the Mojo Monday Sketch #406 challenge, I knew exactly what stamp and punch I would use!  And I had the perfect occasion for that card too!  I can’t believe the week is basically over and I just got finished with my card!  A day late and a dollar short is typically how I roll and this is no different:   Well, her birthday has already passed,  and as I am sitting down to get this blog post written, the link has already closed so I can’t play along with Mojo Monday 🙁  but I wanted to share this with you anyway.

Here is the sketch: Sketch Challenges

And here is my card: IMG_5346

Along with the Happy Birthday, Everyone stamp set, I used one of my very favorite color combos:  Blackberry Bliss & Hello, Honey.  And I did use some retired paper from Moonlight DSP Paper Stack.  I sure hope you stocked up on this before it retired.

This card is intended for wish an amazing woman a Happy Birthday; so to send it to her, I had to custom line an envelope so it would arrive in style.  The Envelope Liner Framelit dies make quick work of that.

IMG_5345See how that adds instant pizzazz to an ordinary envelope?

IMG_5347The flower was cropped using the Pansy Punch (2 layers of Hello, Honey DSP) and the Petite Petals Punch (in Blackberry Bliss) topped with a metal rimmed Pearl (the largest size in the package).  Quick & Easy but it adds so much class!

Great layout for the Happy Birthday, Everyone stamp set, don’t you agree?  This stamp set is a Stampin’ Reward stamp set which means it is only available for purchase with Stampin’ Reward Dollars.  If you place an order of $150 or more (whether by hosting a workshop, or just by placing an order for your own supplies), then you are entitled to Stampin’ Rewards.  Click Here to see the Stampin’ Reward Chart to see how much you can earn when you host a workshop, or place a large order.

If you would like to order any of the products used to create this card; CLICK HERE to shop my online store 24/7, or click on the image below.

 Built for Free Using: My Stampin Blog
Thanks for stopping by My Stampin’ Space.  I hope you enjoyed this card.  I envision this in so many color combo’s, using a variety of our fabulous Designer Series Papers.  I know that I will be making more cards just like this.   What color combo will you choose to make this card?  Please leave me a comment and let me know.
And if you place an order with me, please know that I value each and every customer, and each order you place with me.
Nancy

Penguin Party

When I saw the theme for the Merry Monday Christmas challenge, I just had to participate!

I had snow much fun creating these little punch art penguins on this card I made last winter that I just had to do a ‘remember when’ post!

Punch Art PenguinThe Owl Builder Punch is used to create these darling penguins, and dazzling diamonds paper gave them the snowy hills to play on!  I don’t make a lot of cute & whimsy cards, but these little cards were so much fun, I may just be making more soon.

I’ll be putting together a step-by-step tutorial so you can make these little darlings too.  Stop back for those instructions.

Nancy

Don’t forget to shop the Weekly Deals today, either.


Built for Free Using: My Stampin Blog