Christmas is just a few short months away, so now is the best time to start getting ready. I did just that. The new Stampin’ Up! 2015 Holiday catalog is here (sales period begins Sept. 1st) but as a demo, I have been able to order from that catalog already. This catalog is filled with so many new and exciting things that will make a stamper’s heart go pitter-patter! And, yes, I do offer Gift Certificates 🙂 SPOILER ALERT: The catalog is also filled with some pretty nostalgic items too that will take you back to Christmases of long ago.
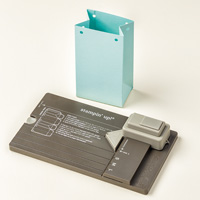
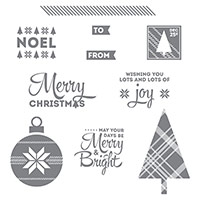
Our Annual Catalog has some pretty nice Christmas stamps & papers too. Today’s project features the “Lots of Joy” stamp set, “Merry Moments DSP” from the annual catalog and the coordinating Tree Punch.
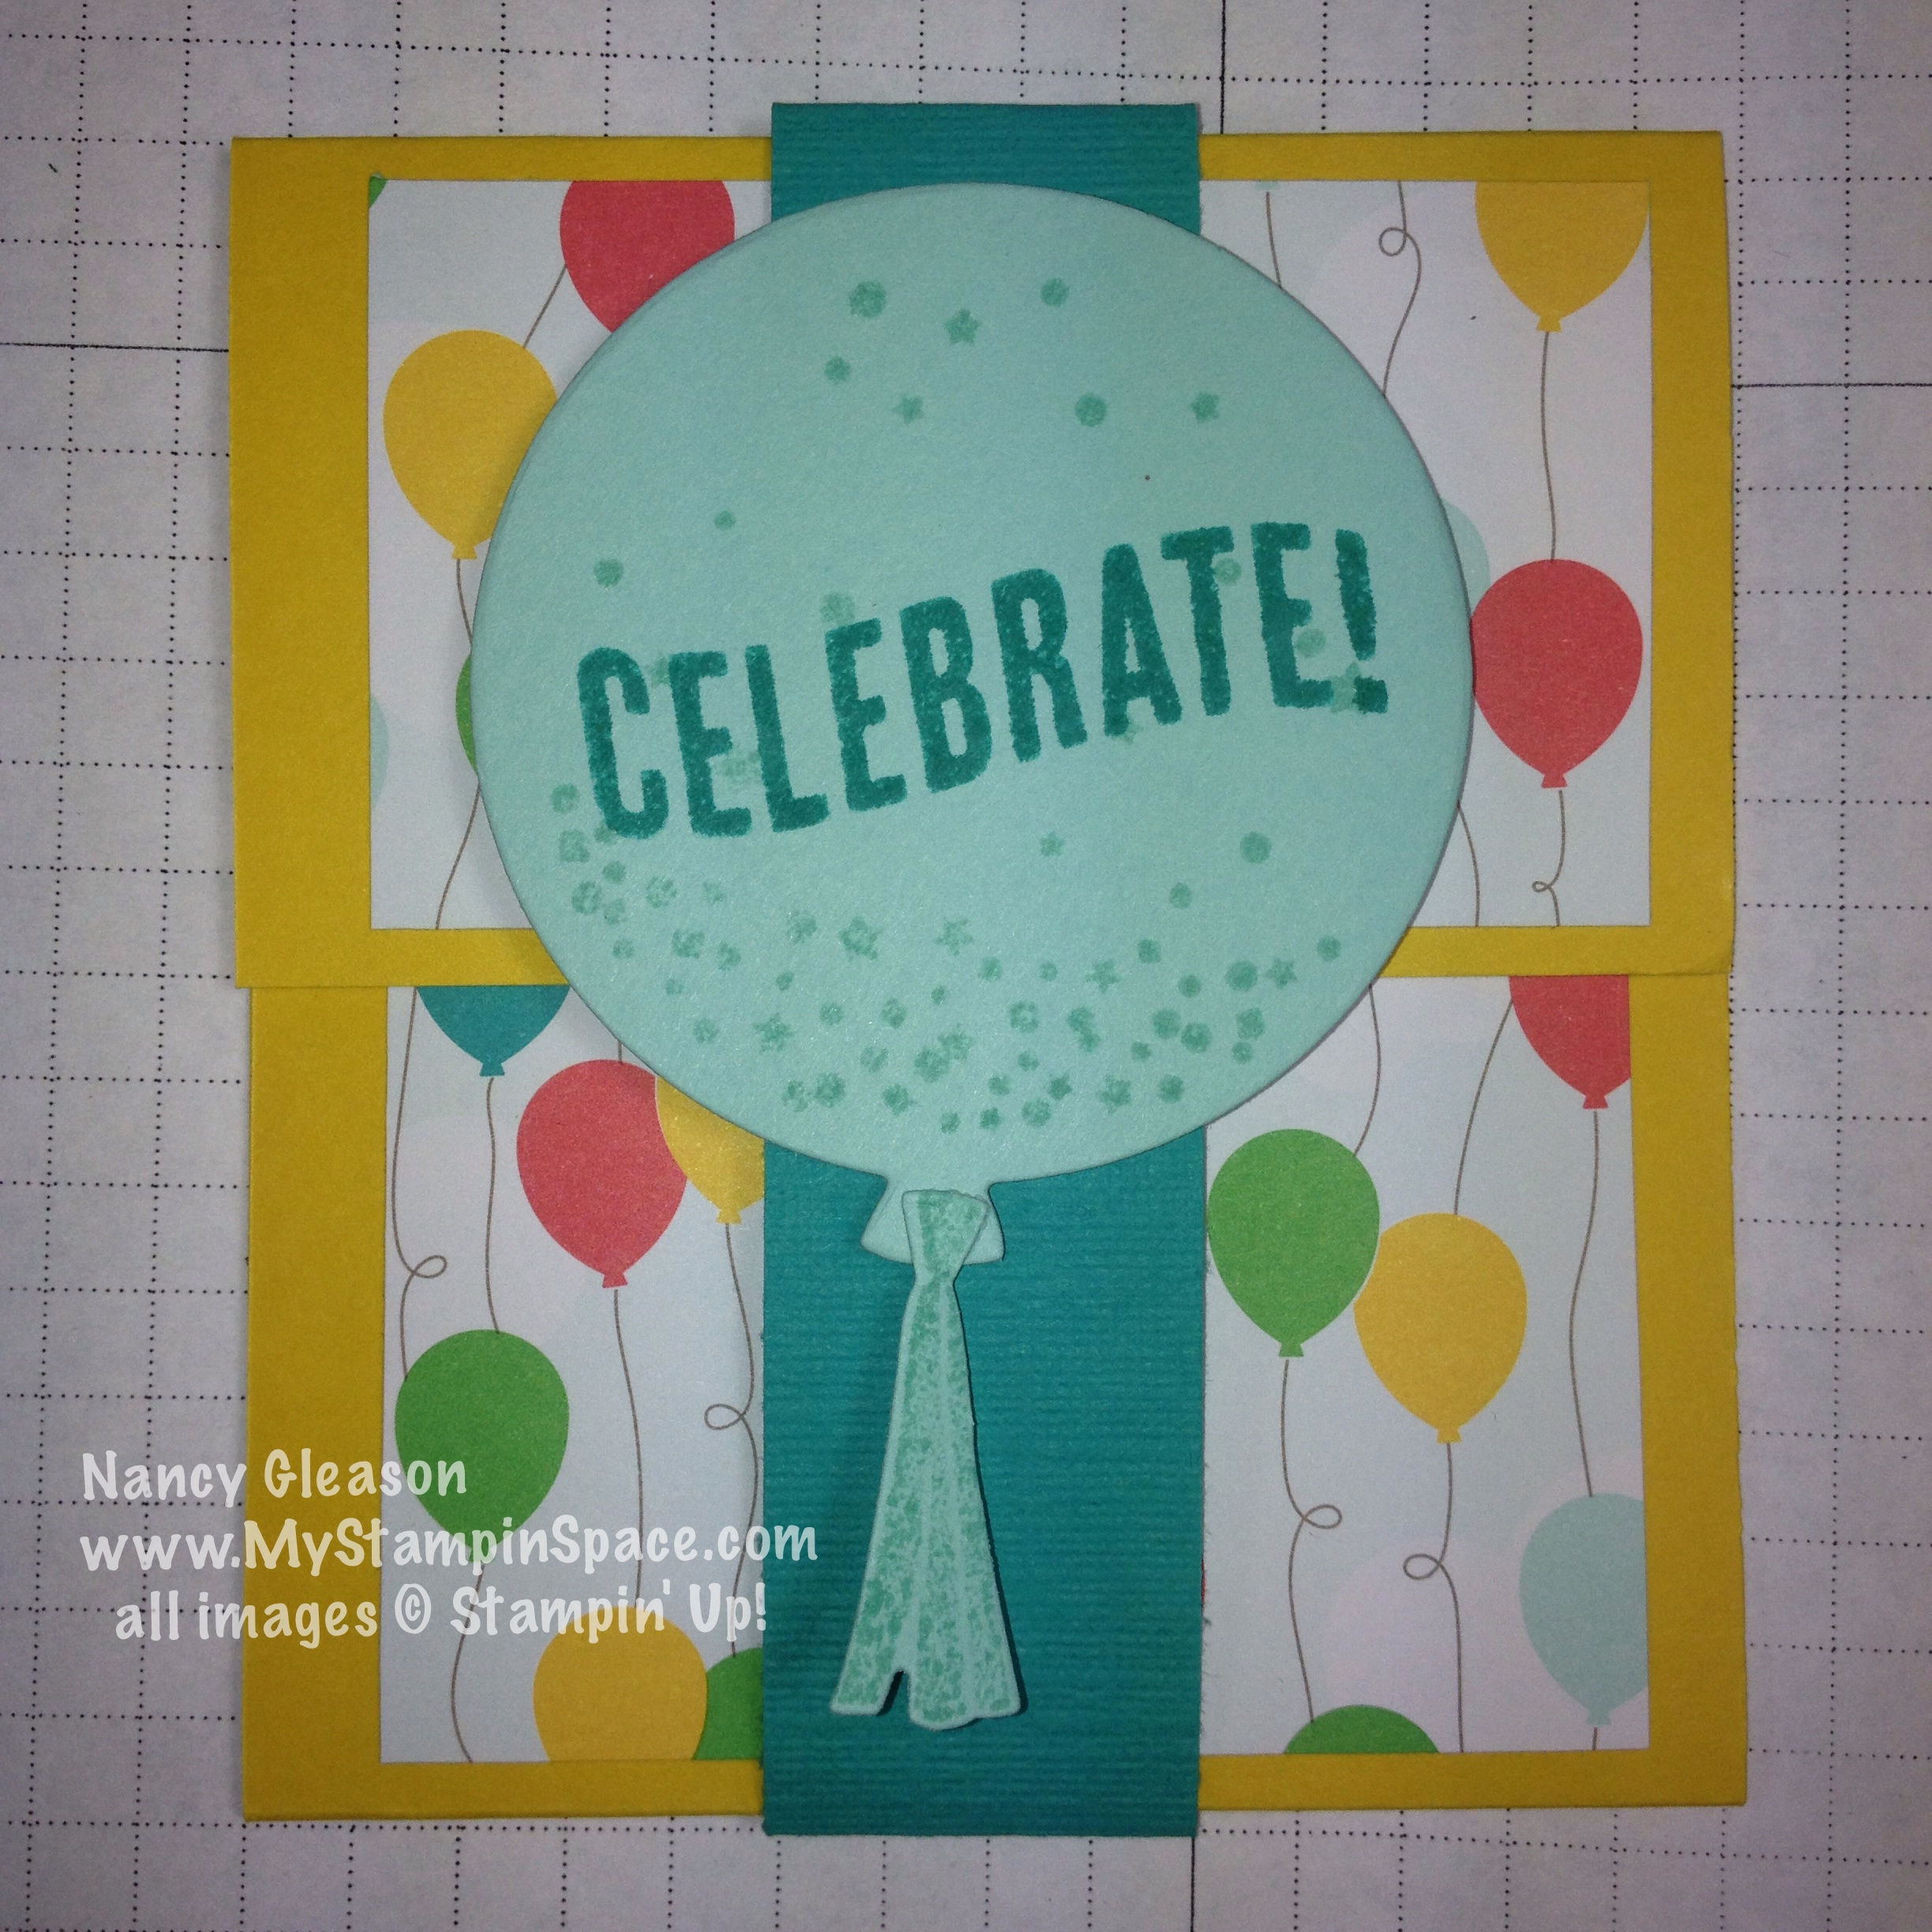
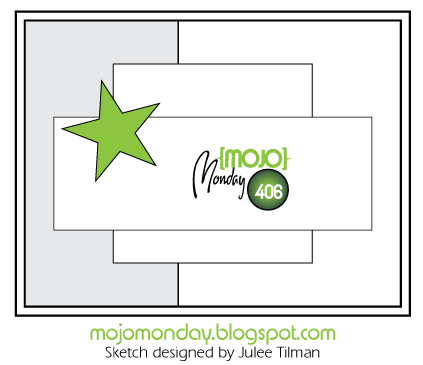
 Whisper White card stock formed the foundation for my card. A piece of plaid DSP cut 1/4″ smaller created the background. I used my Oval framelits and cut 2 ovals; the larger from Mossy Meadow card stock, the smaller in Old Olive card stock. I punch a Mossy Meadow tree (TIP: To save paper, I punched this out of the center of the oval I just made – the lighter oval will cover it and no one will know!)
Then I stamped the plaid tree in Old Olive ink on Whisper White and punched that out and adhered on top of, but offset from the solid tree.
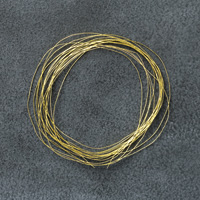
Cherry Cobbler ink was used for the sentiment and the 1-3/4″ and 2″ circle punches cropped the circles which I layered together and offset at the bottom of the oval. A few stars in Gold Glimmer Paper were cropped using the star die from the Mini Treat Bag Thinlits set added some sparkle. The plaid tree was finished off with a bow tied from the new Gold Cording Trim which will be available Sept. 1st.
Don’t you just love the plaid tree in this stamp set? I do. It reminds me of a Charlie Brown Christmas and I am looking forward to stamping this tree in some funky colors like Bermuda Bay, Melon Mambo and the like!
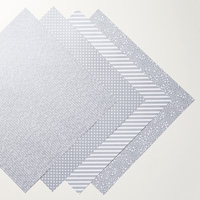
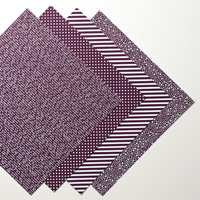
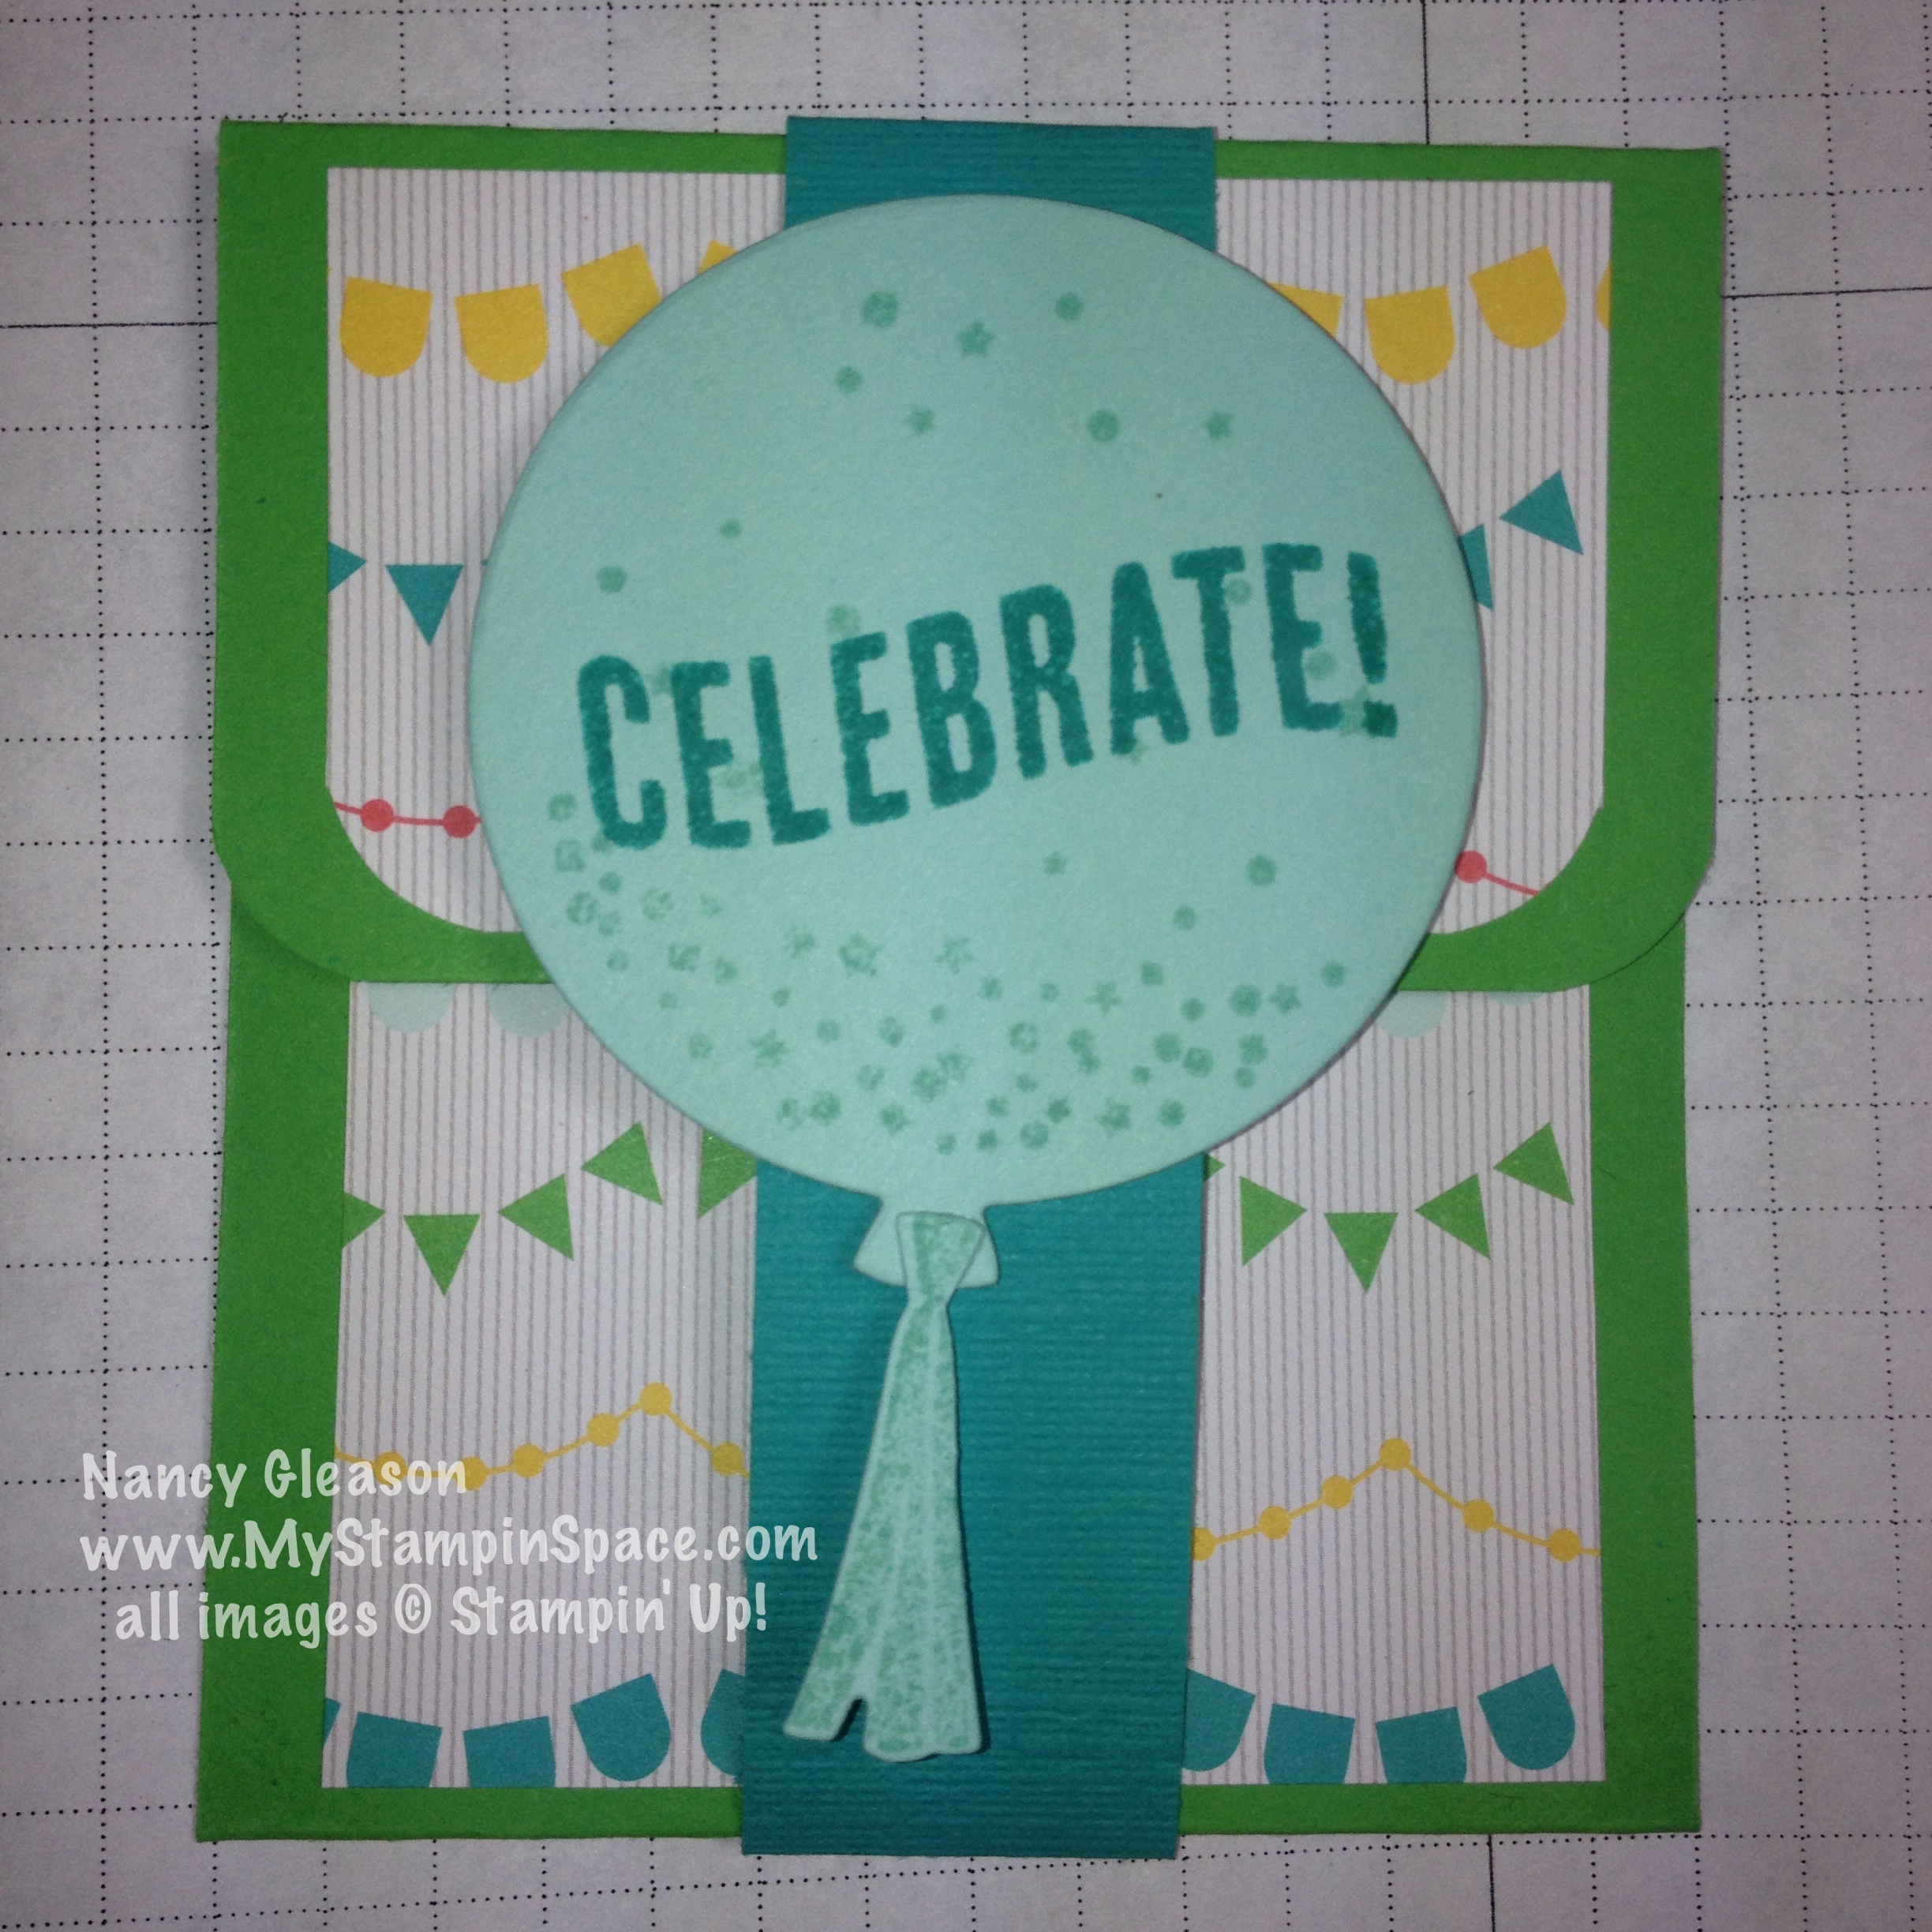
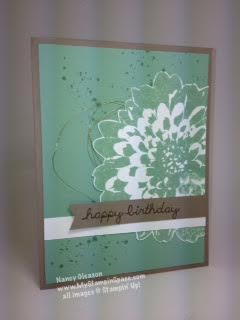
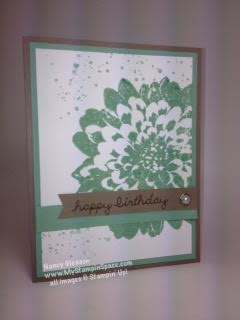
I took my color palette from the colors in the Merry Moments DSP. Here is another card I made using the same layout but I switched out the DSP in the background. 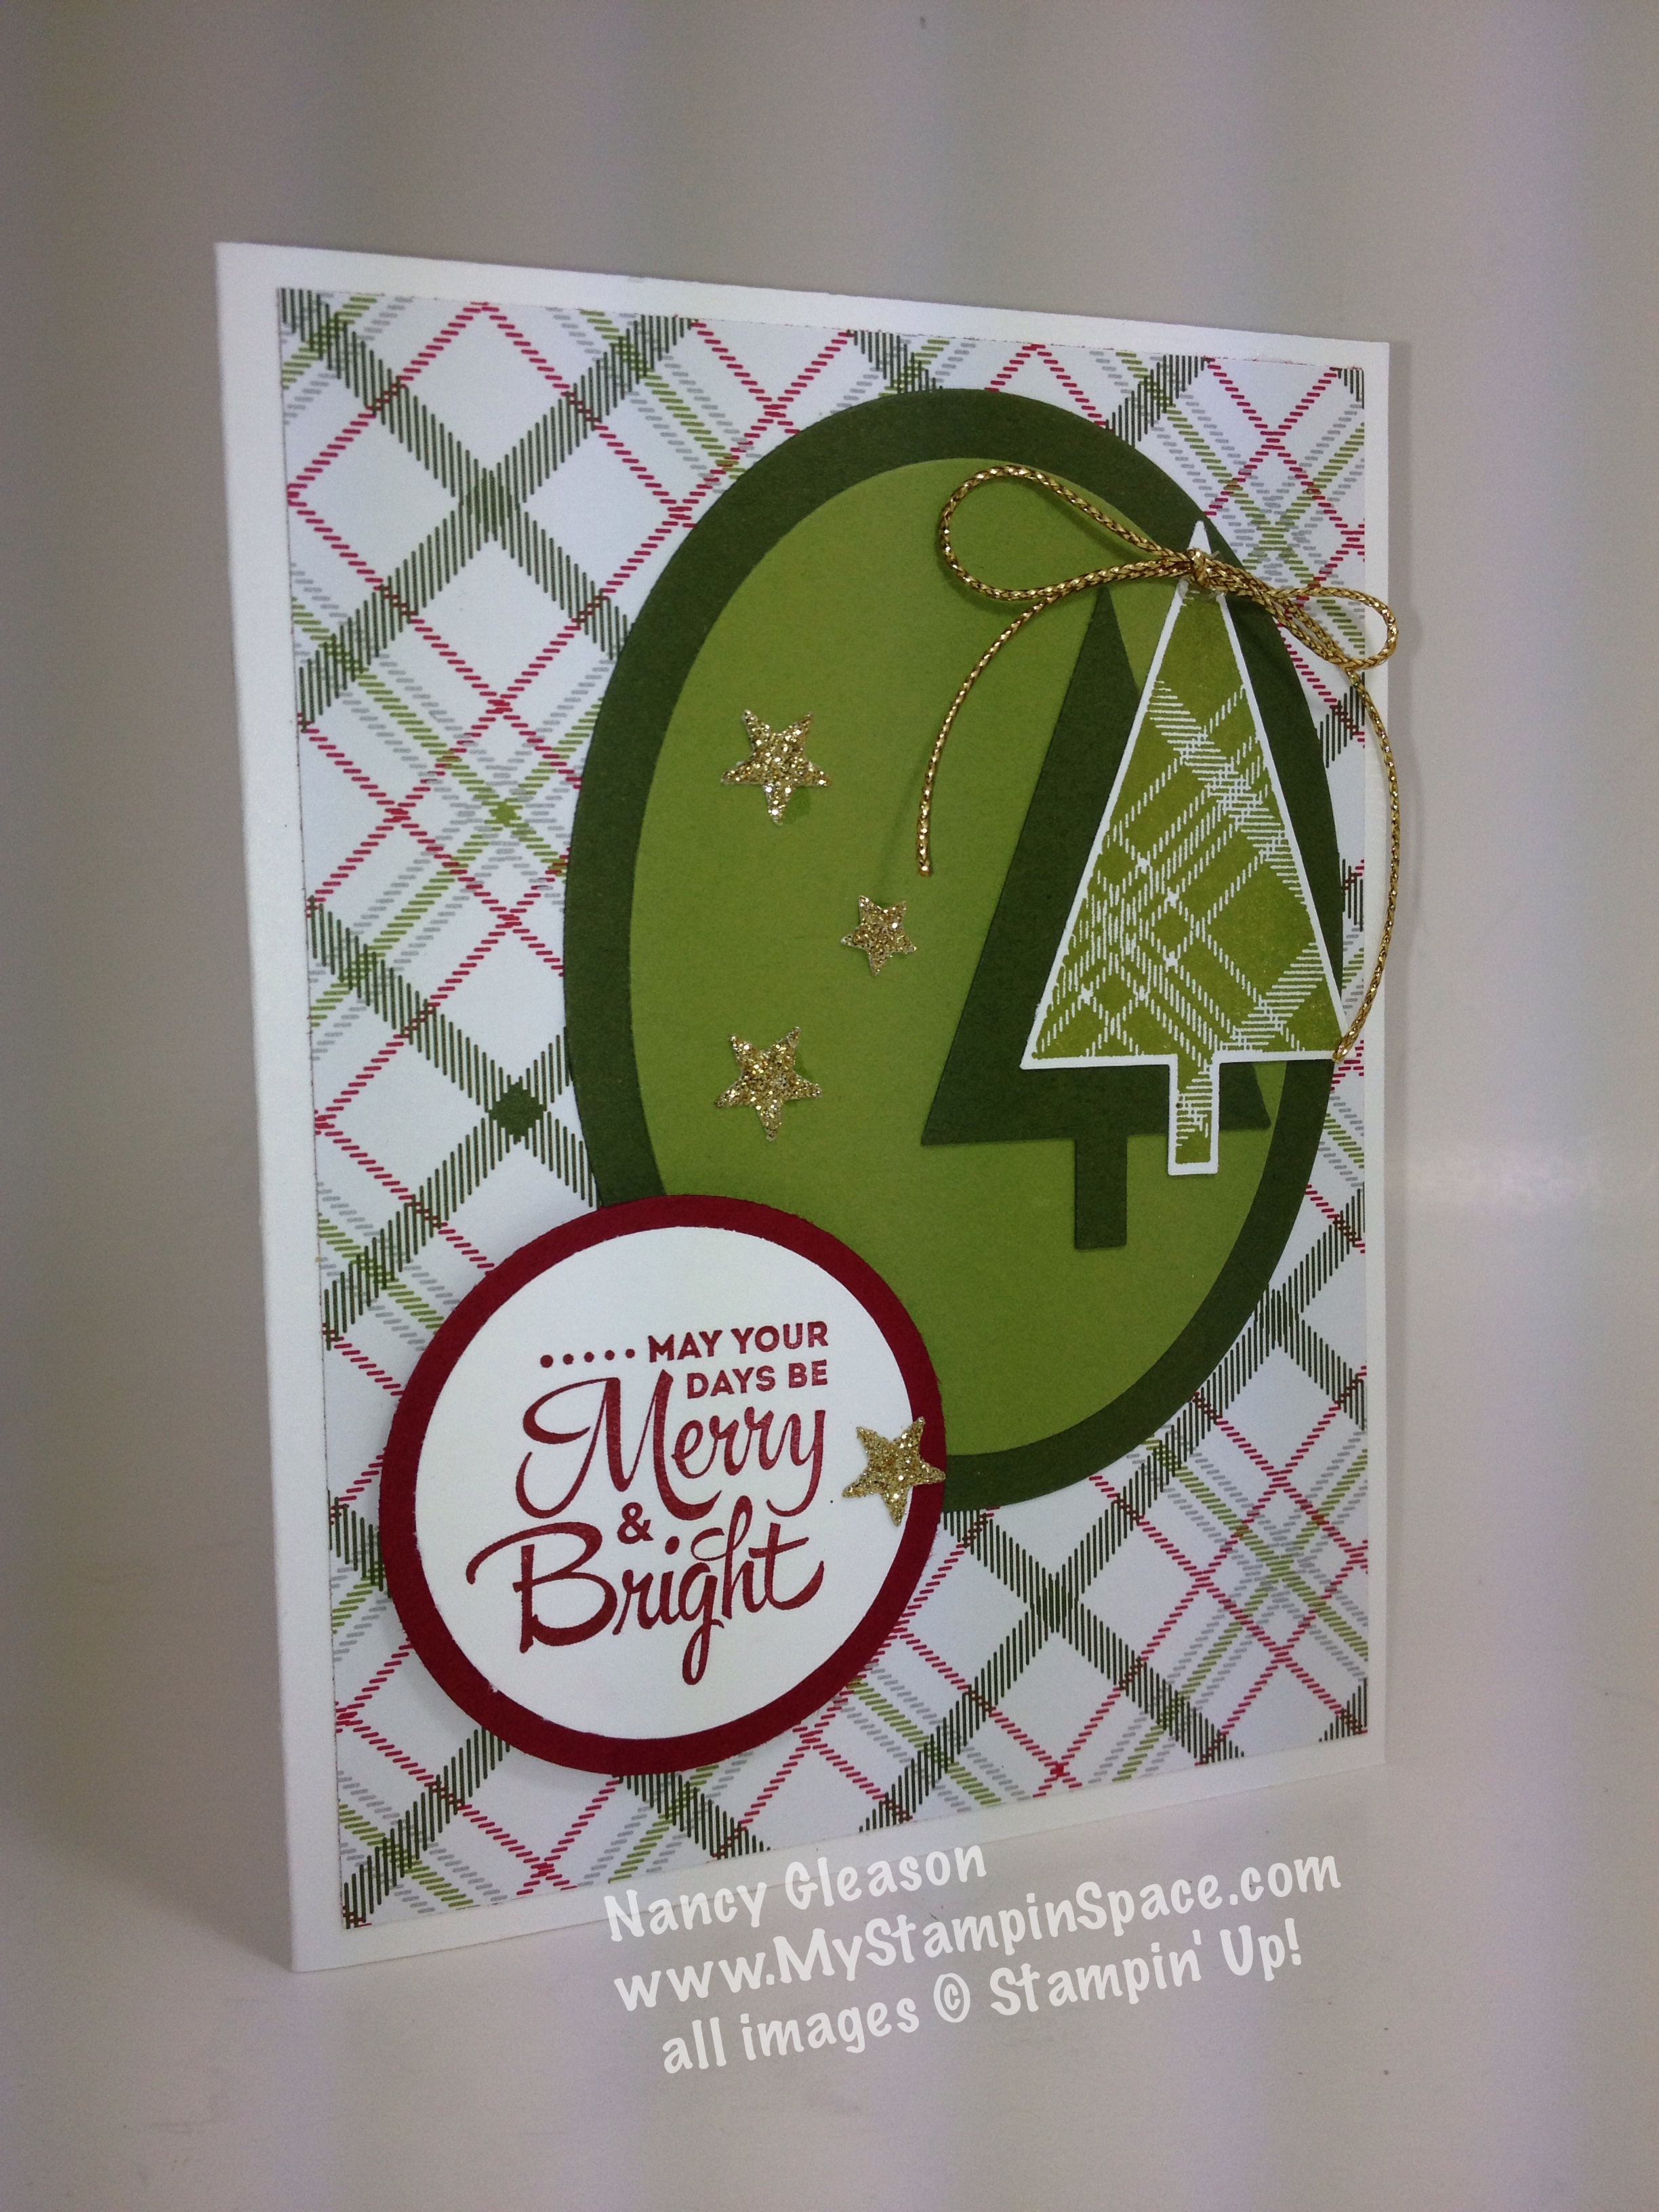 A whole different feel just by changing the paper.
And the best part of this card; after I made it I realized it fit the requirements for the Merry Monday Christmas card challenge: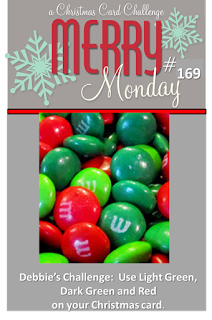 It’s been a while since I played along and I’m really glad to take part this week. Hop over to the challenge to find inspiration from other crafters as you look forward to getting started with your own Christmas cards.
Listed below are the supplies I used for my card. You can order any of these items by shopping my online store, or by clicking the item below.
If you need a 2015 Holiday Catalog, and you are my customer, or don’t currently have a demo and wish to choose me as your demonstrator, request your Holiday catalog here. If you already have a relationship with another demonstrator, please be respectful and contact him or her for a catalog.


![IMG_5204[1]](https://www.mystampinspace.com/wp-content/uploads/2015/06/IMG_52041.jpg)
![IMG_5203[1]](https://www.mystampinspace.com/wp-content/uploads/2015/06/IMG_52031.jpg)